When my husband and I were looking at homes and picking out appliances I was asked gas or electric. Well I had never really been around a gas stove so I went with what I knew electric. Isn’t that what most of us would do?
I mean I watched my mom cook on an electric flat top. I watched my grandmother cook on an electric stove. So that must be the norm.
Let me date myself a little. This was in 1997. Before major cooking shows on foodnetwork appeared on my satellite dish. To be frank we didn’t have satellite so I didn’t even watch those shows. I knew who Julia Child was, but I had never really watched one of her shows. At this point in my life I cooked mostly what I learned from mom and from foods in high school. I just didn’t see that many people using gas until I began to watch food network.
As the years tickled by I became aware of the popularity of a gas range. The usefulness of a convection oven. I began to desire them both. However my stove of 17 years was working fine and there was no upcoming need for me to upgrade in the near future. At least I thought.
When I cook pulled pork in the oven using the Pioneer Woman’s recipe, it never fails. There is going to be a problem. I don’t know why. There just is. Usually no biggie. It boils over every time.
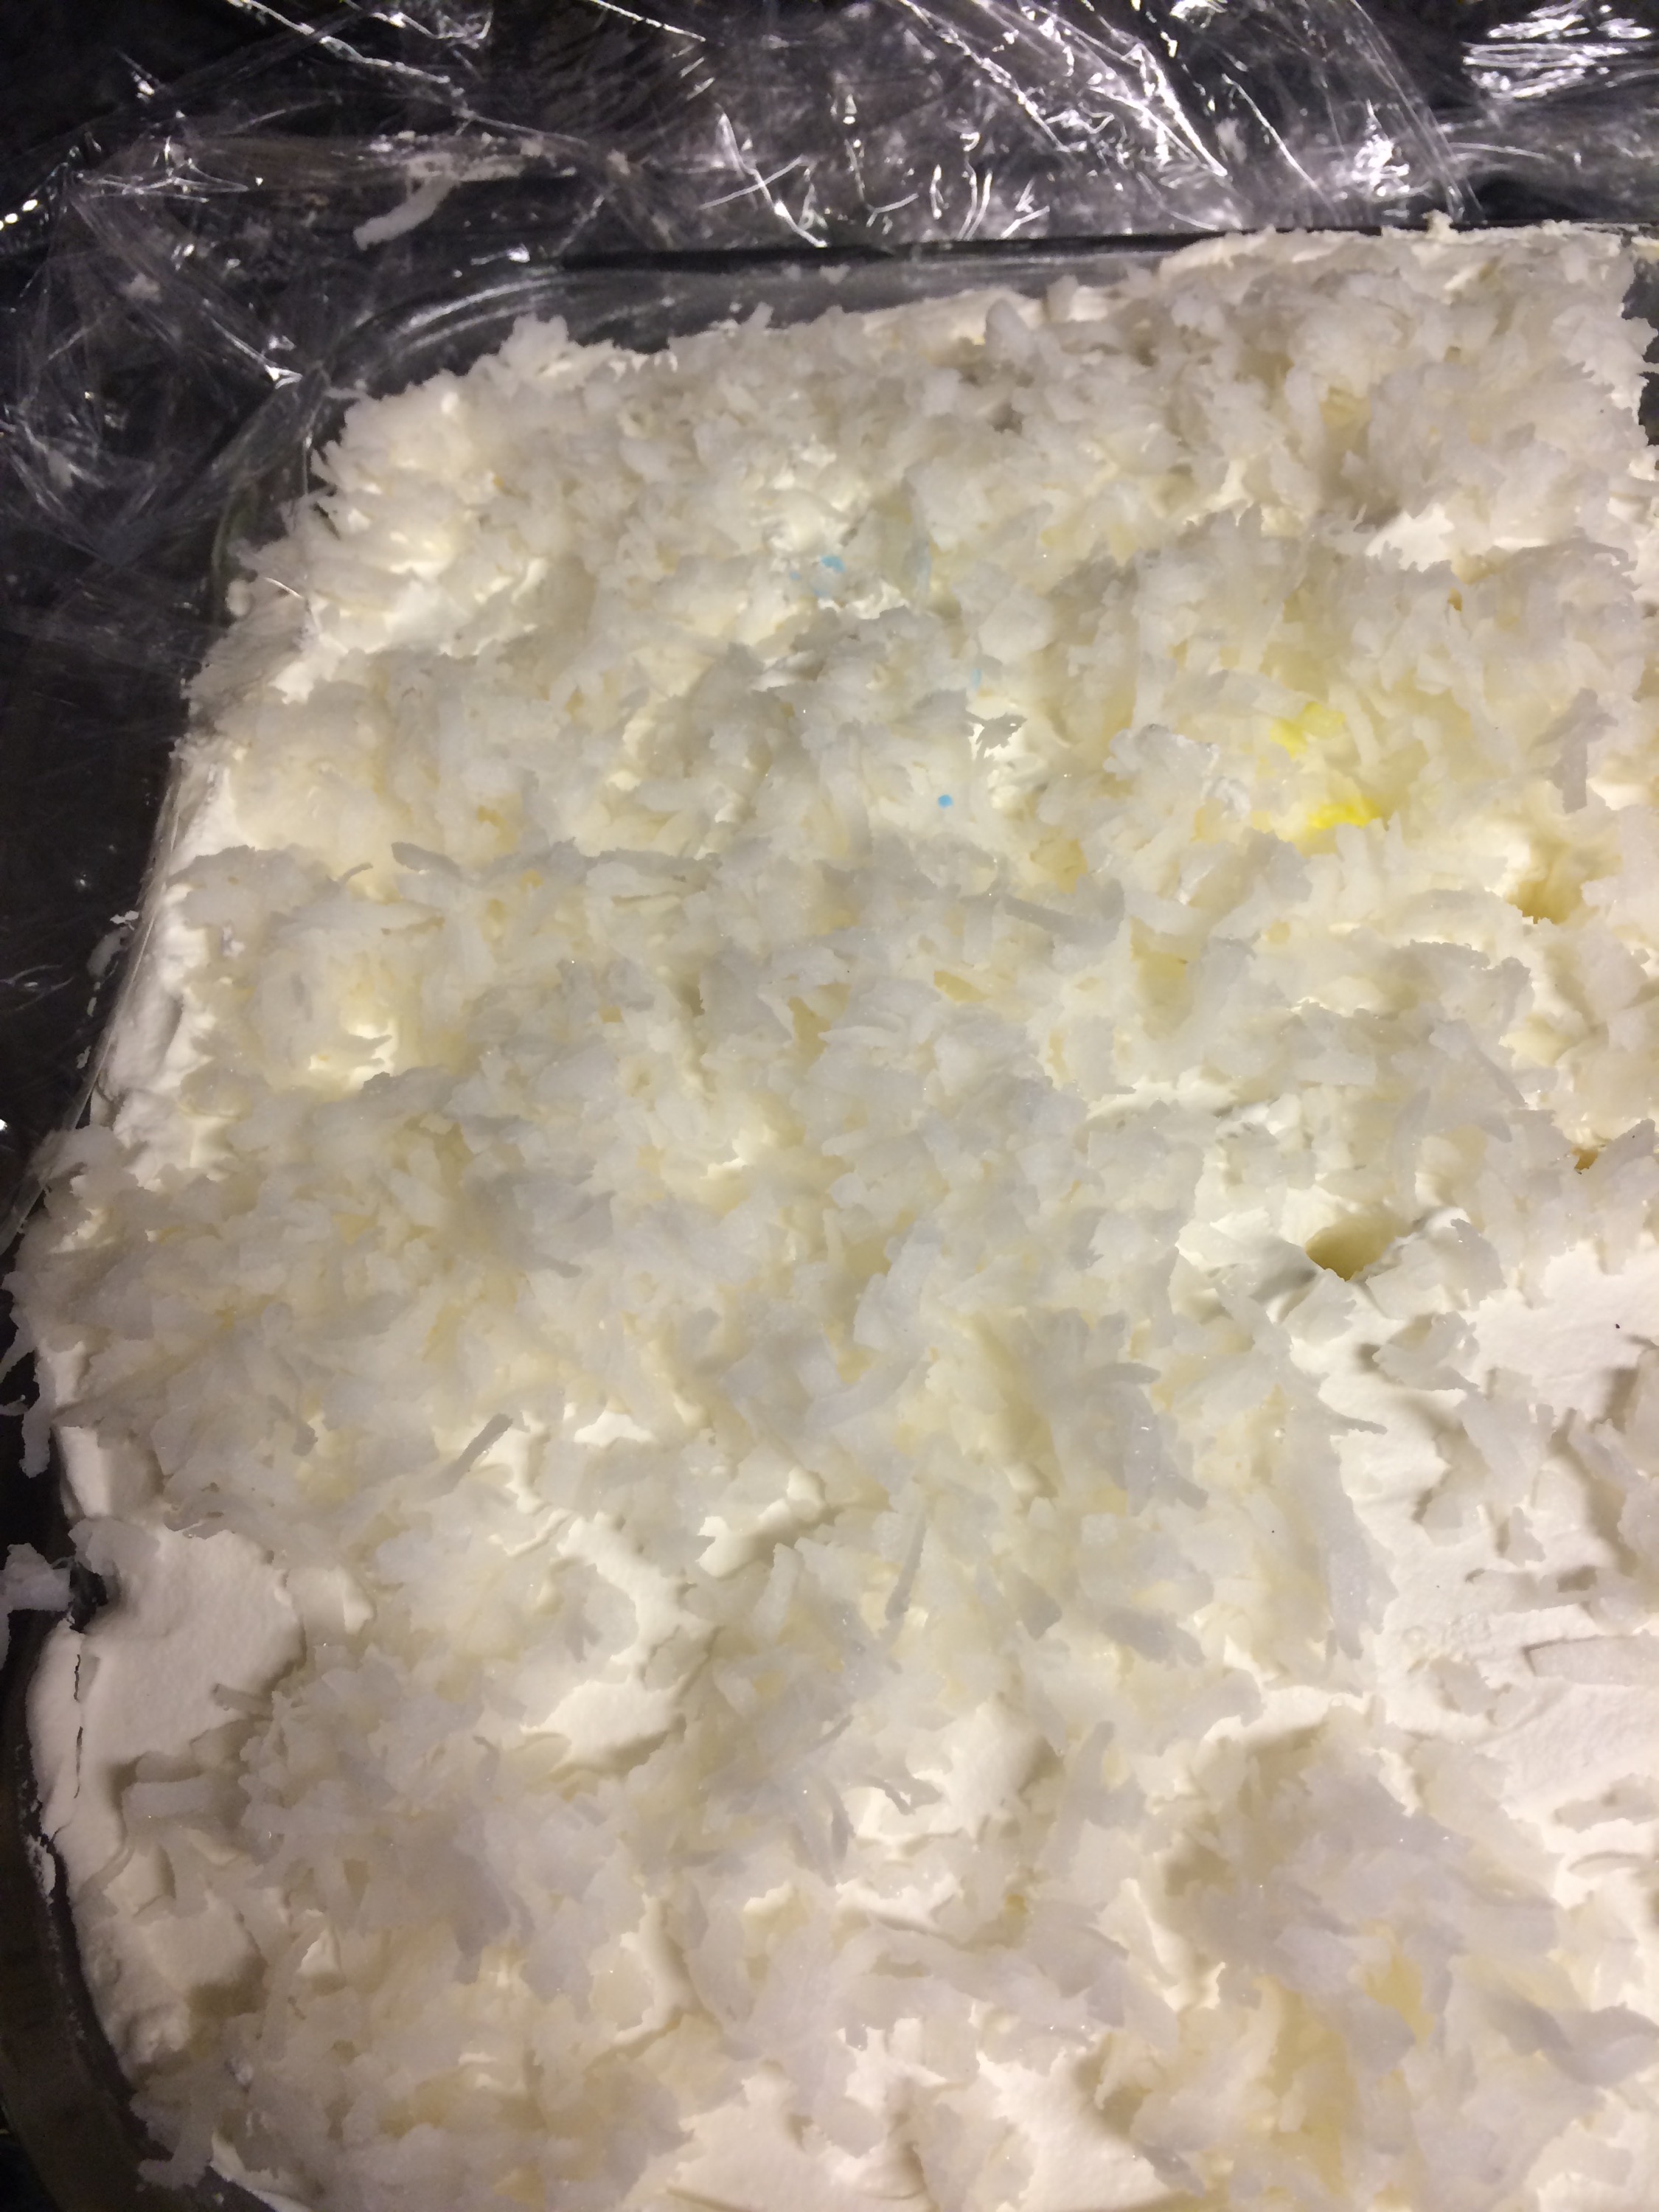
When the fire starts in the bottom of the oven. I try not to panic. I of course always remember baking soda is for grease fire. Or was that baking powder. Or was it salt. By this point I have a fairly large white hill that should put out the fire. However it’s changing. Somehow the element got bent has burnt completely into. The fire is now looking like a welders arc and it is coming out of the element. I am trapping it under a mound of well, all white matter. Let’s just say we are now moving into destruction of stove mode. My hubby is now on the scene helping to throw more white stuff at this point baking soda onto the arc. We have unplugged but the damage is not fixable.
I’m devastated. I mean I was cooking. It was done but I need to brown it. Looks like I’m getting a new stove.
Yes, you guessed it I’m going to upgrade to gas. Well this is on Sunday and I am having knee surgery on Thursday. We pick one out in Casper which is 1.5 hours away. Then go back to pick it up on Wednesday. Who knew that stores don’t keep ovens in stock? We buy all the gas parts and JJ assures me while I’m bedridden on Thursday and Friday he will get this bad boy in.
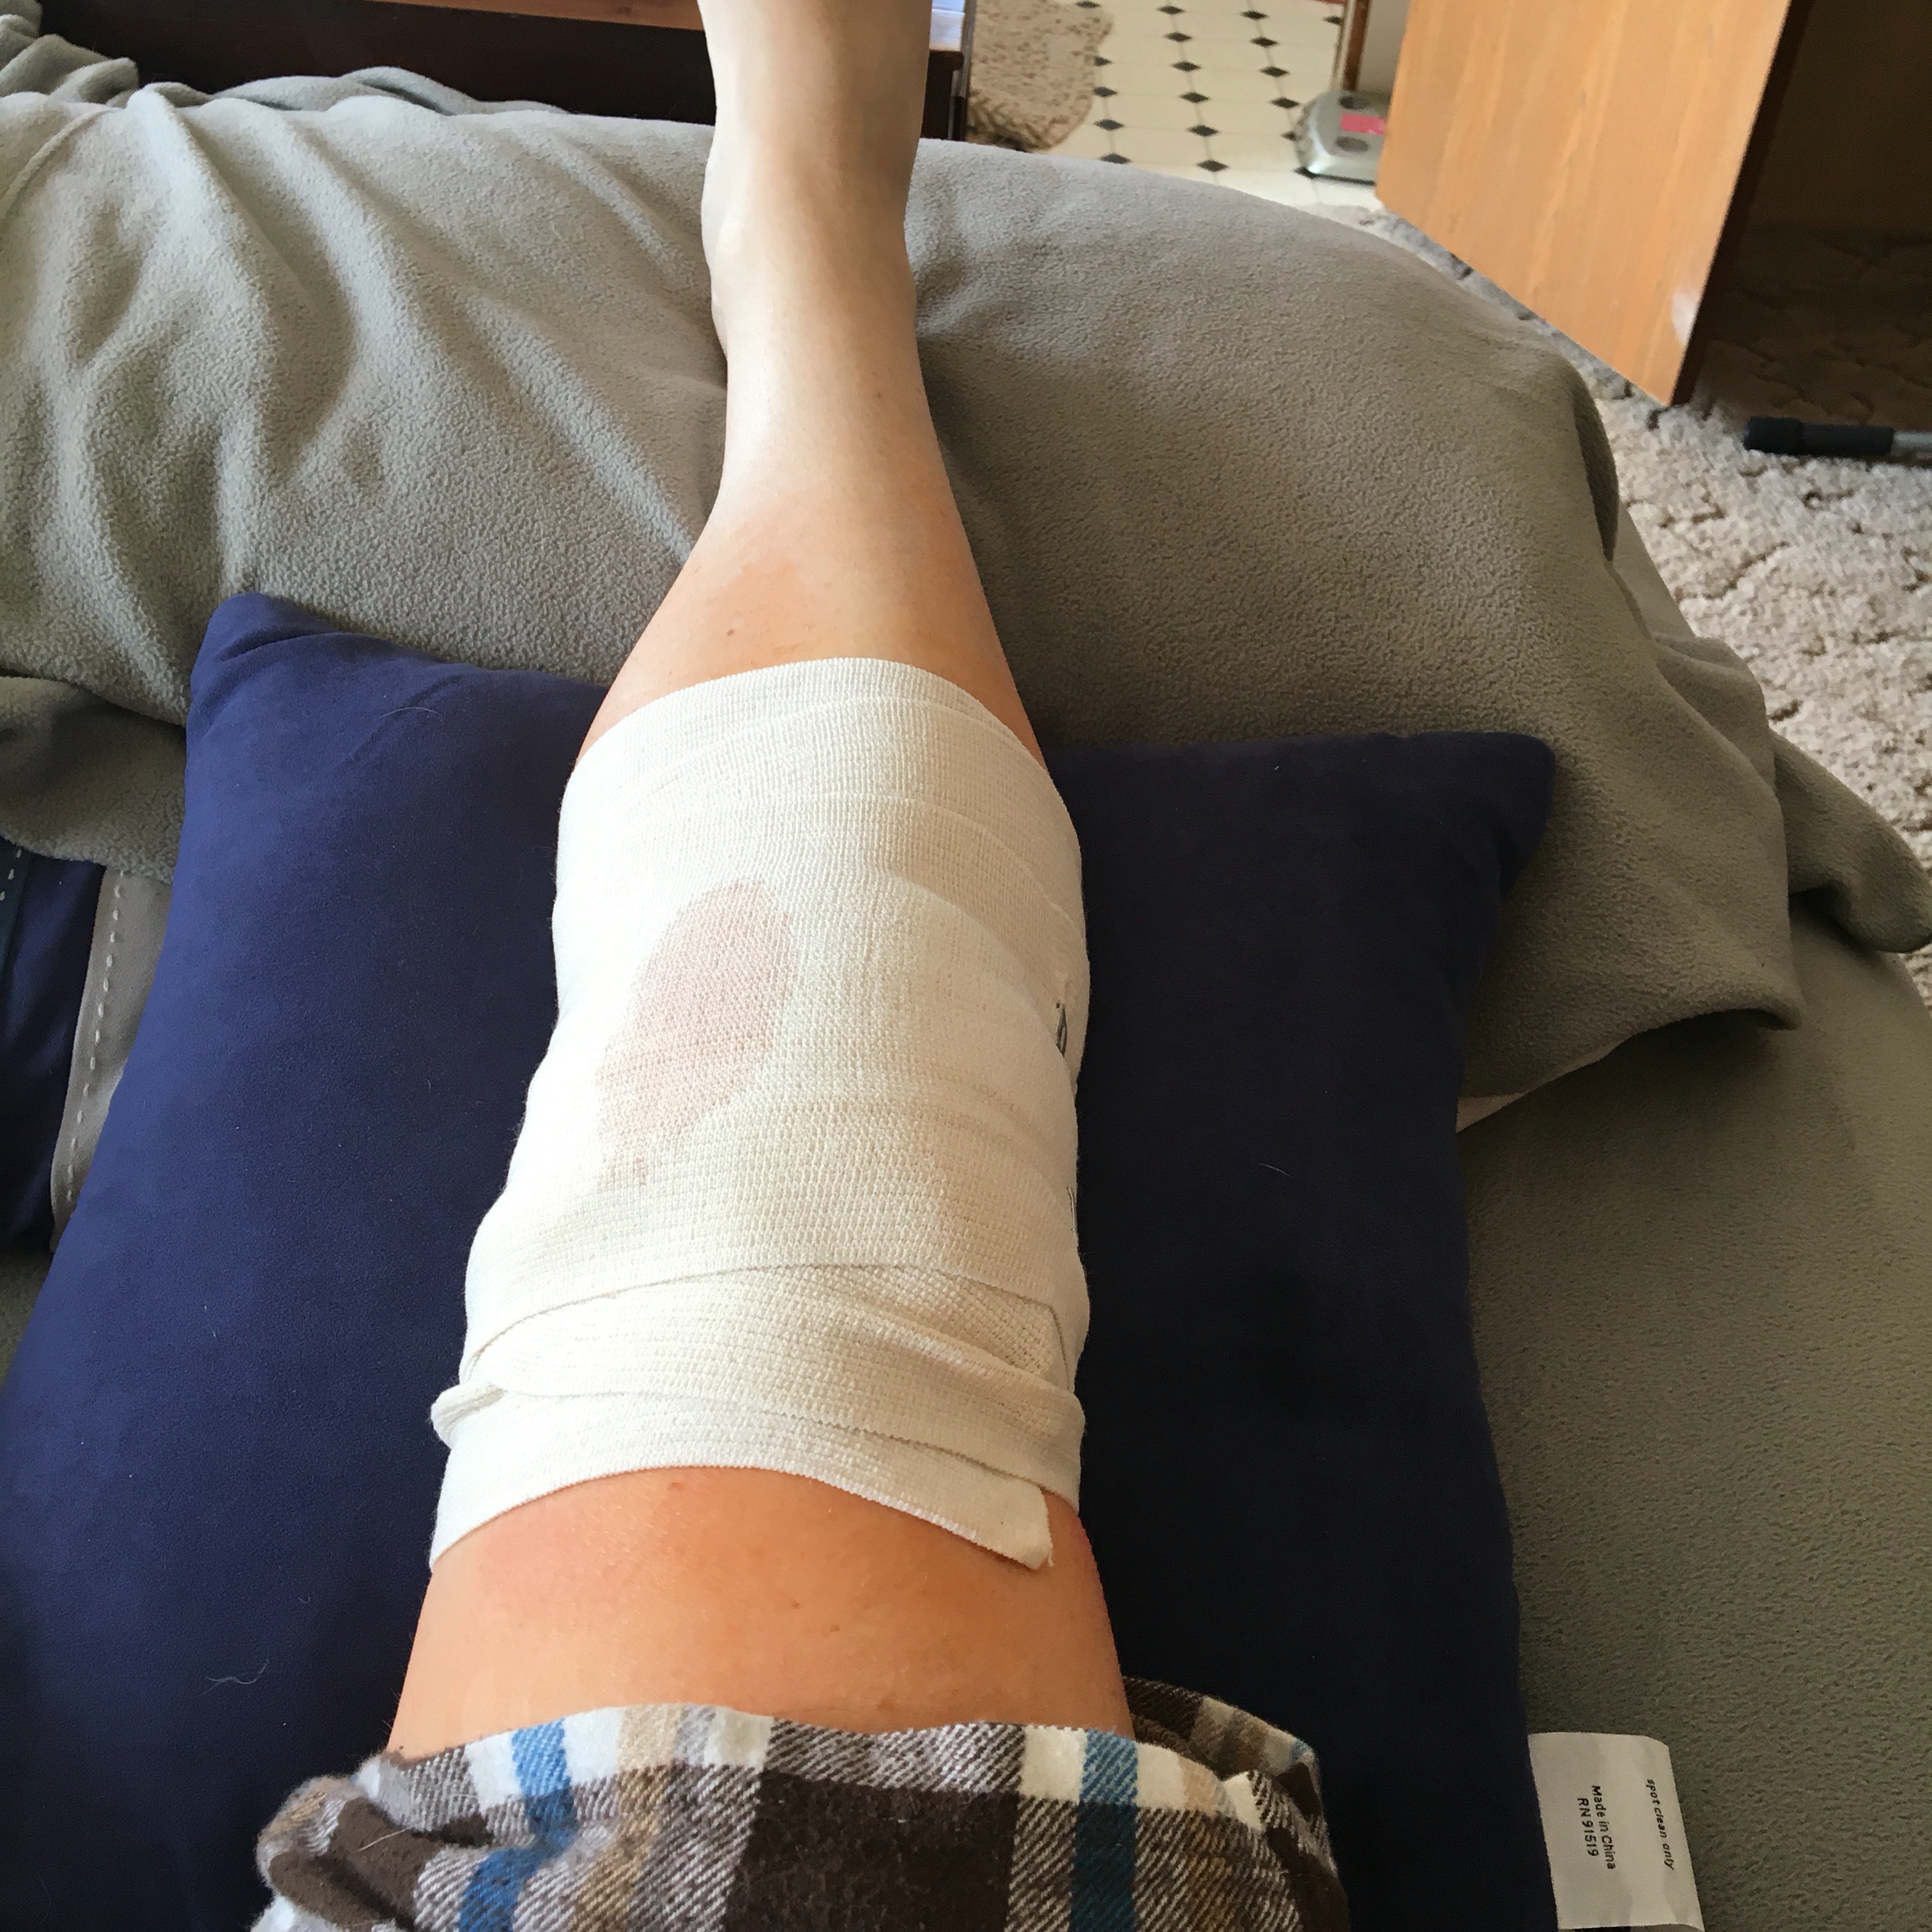
I’m home from surgery on Thursday. JJ and my son work to get this hooked up. I can hear commotion but I am incapable of movement out of my bed.
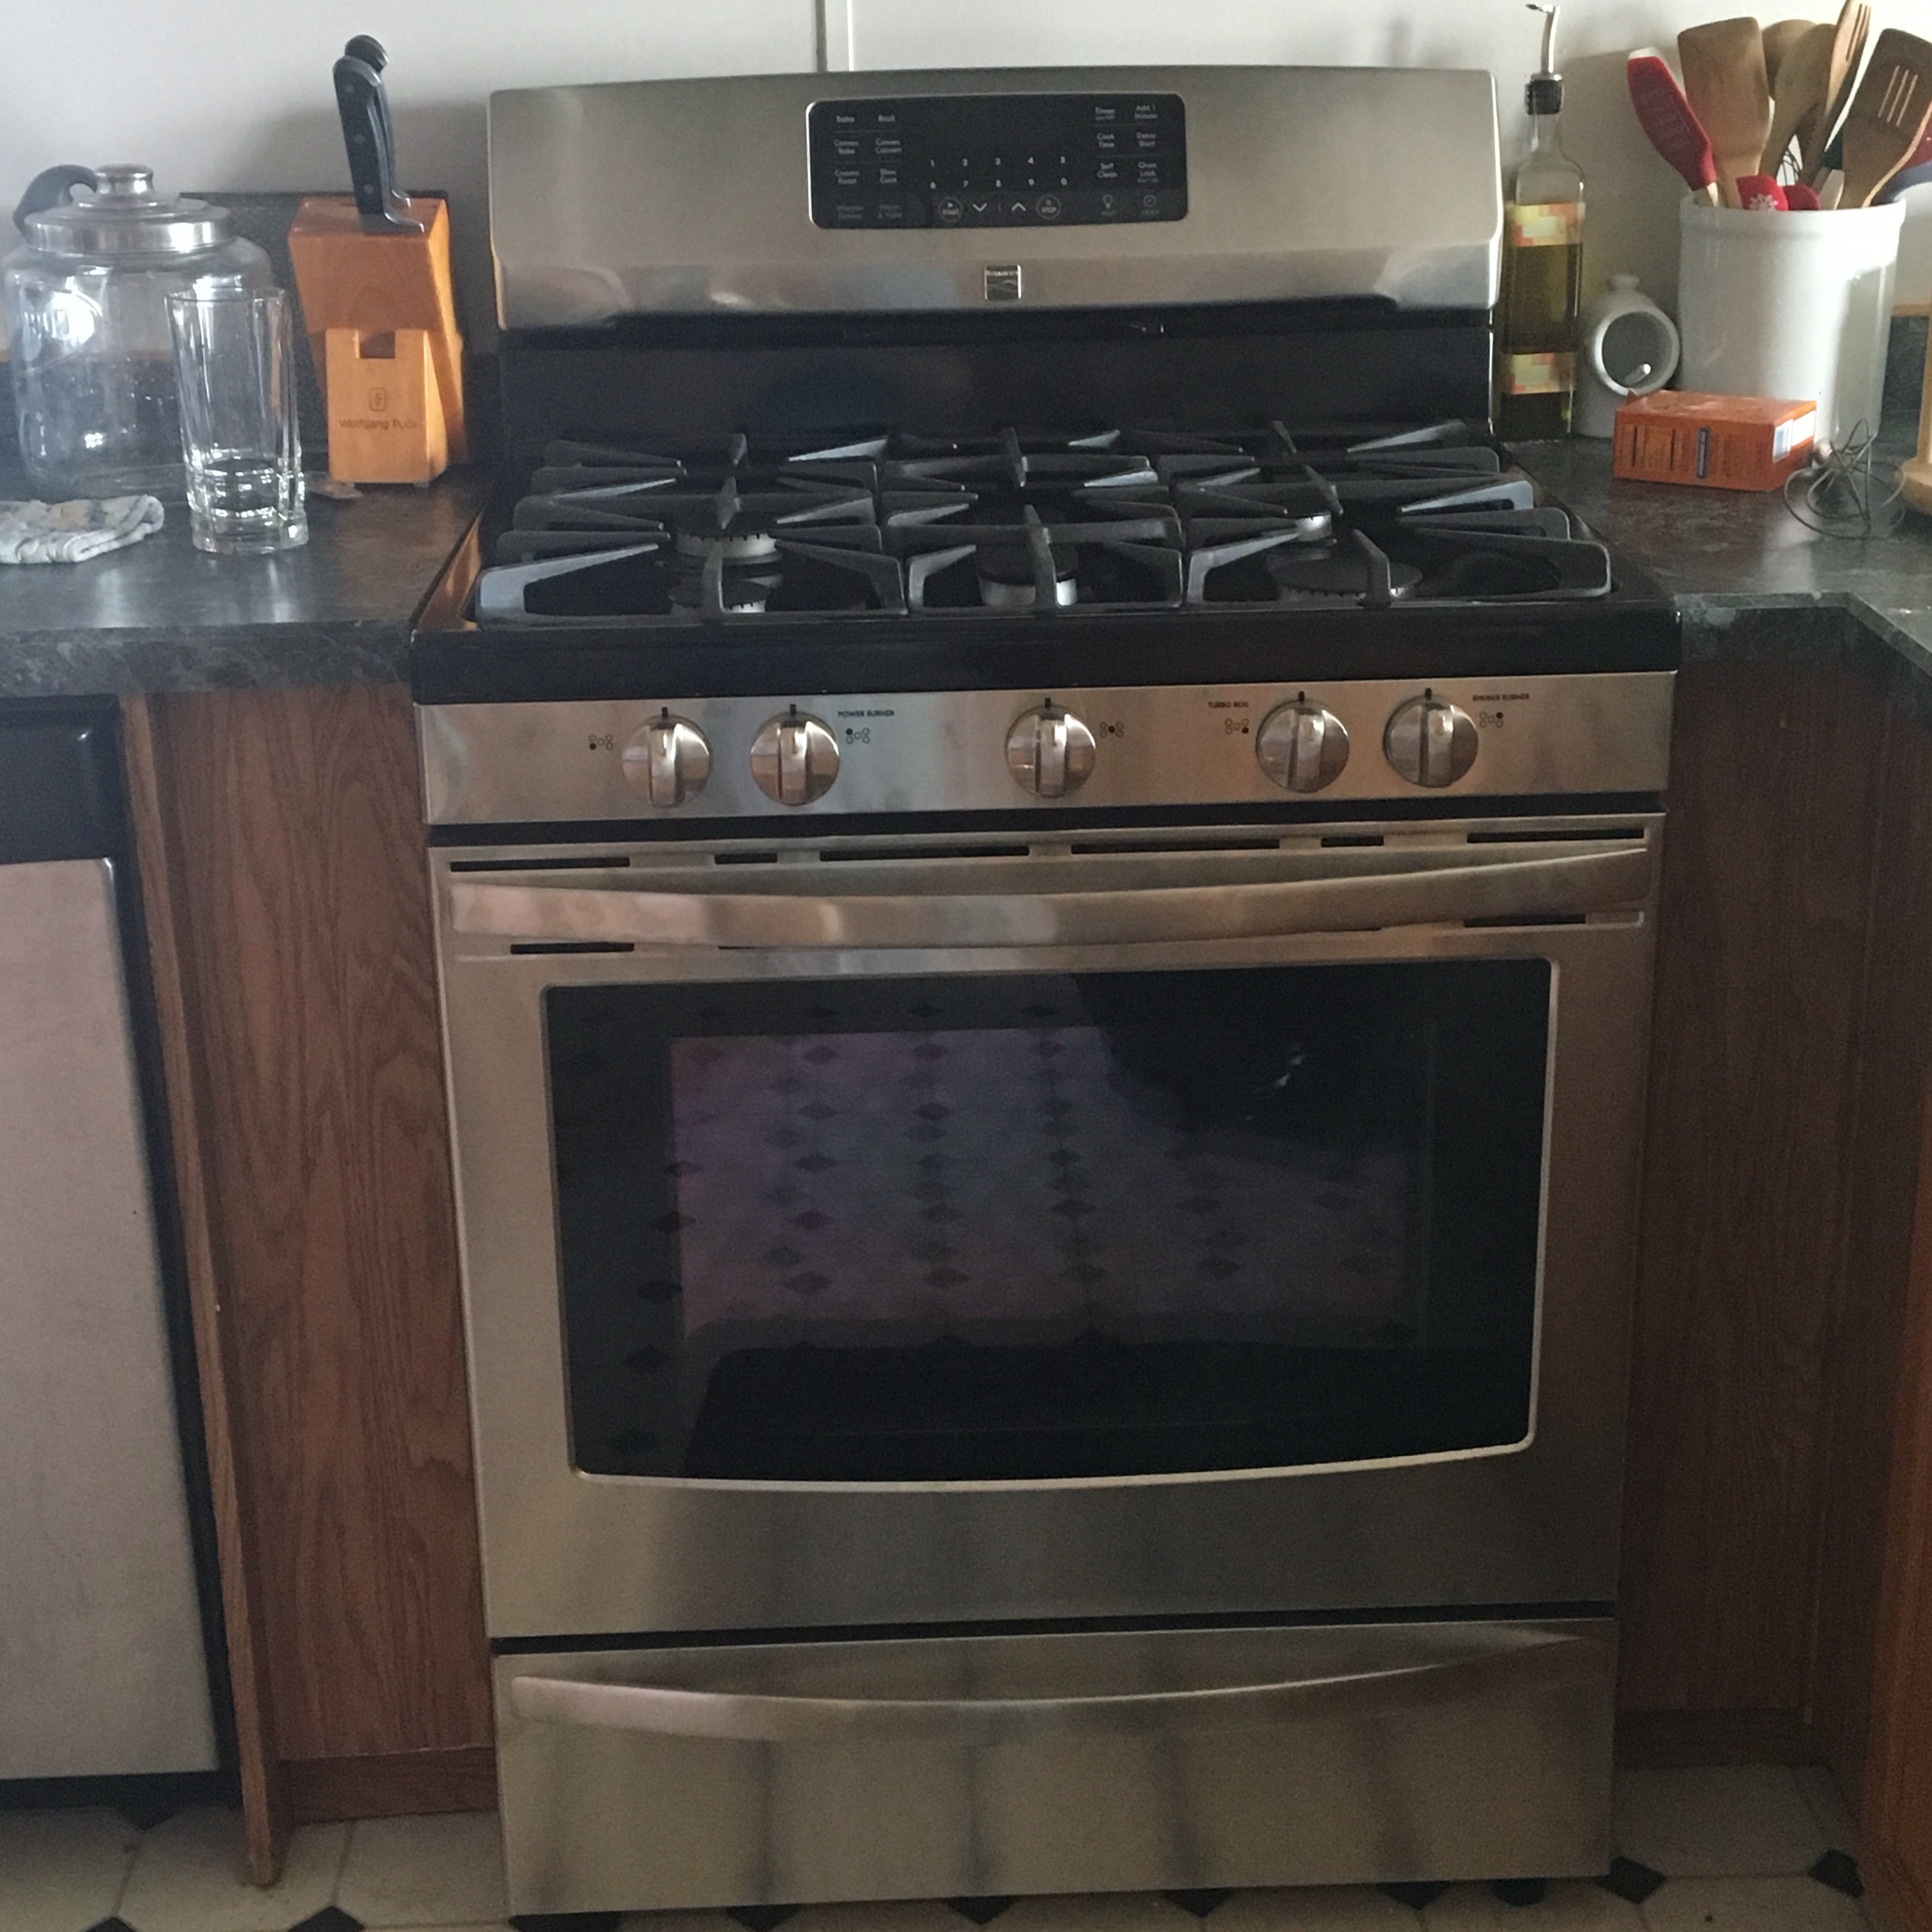
They get it all in place. I hobble in to take a gander and it’s perfect. I can’t wait to cook. However I can not be on my feet very long.
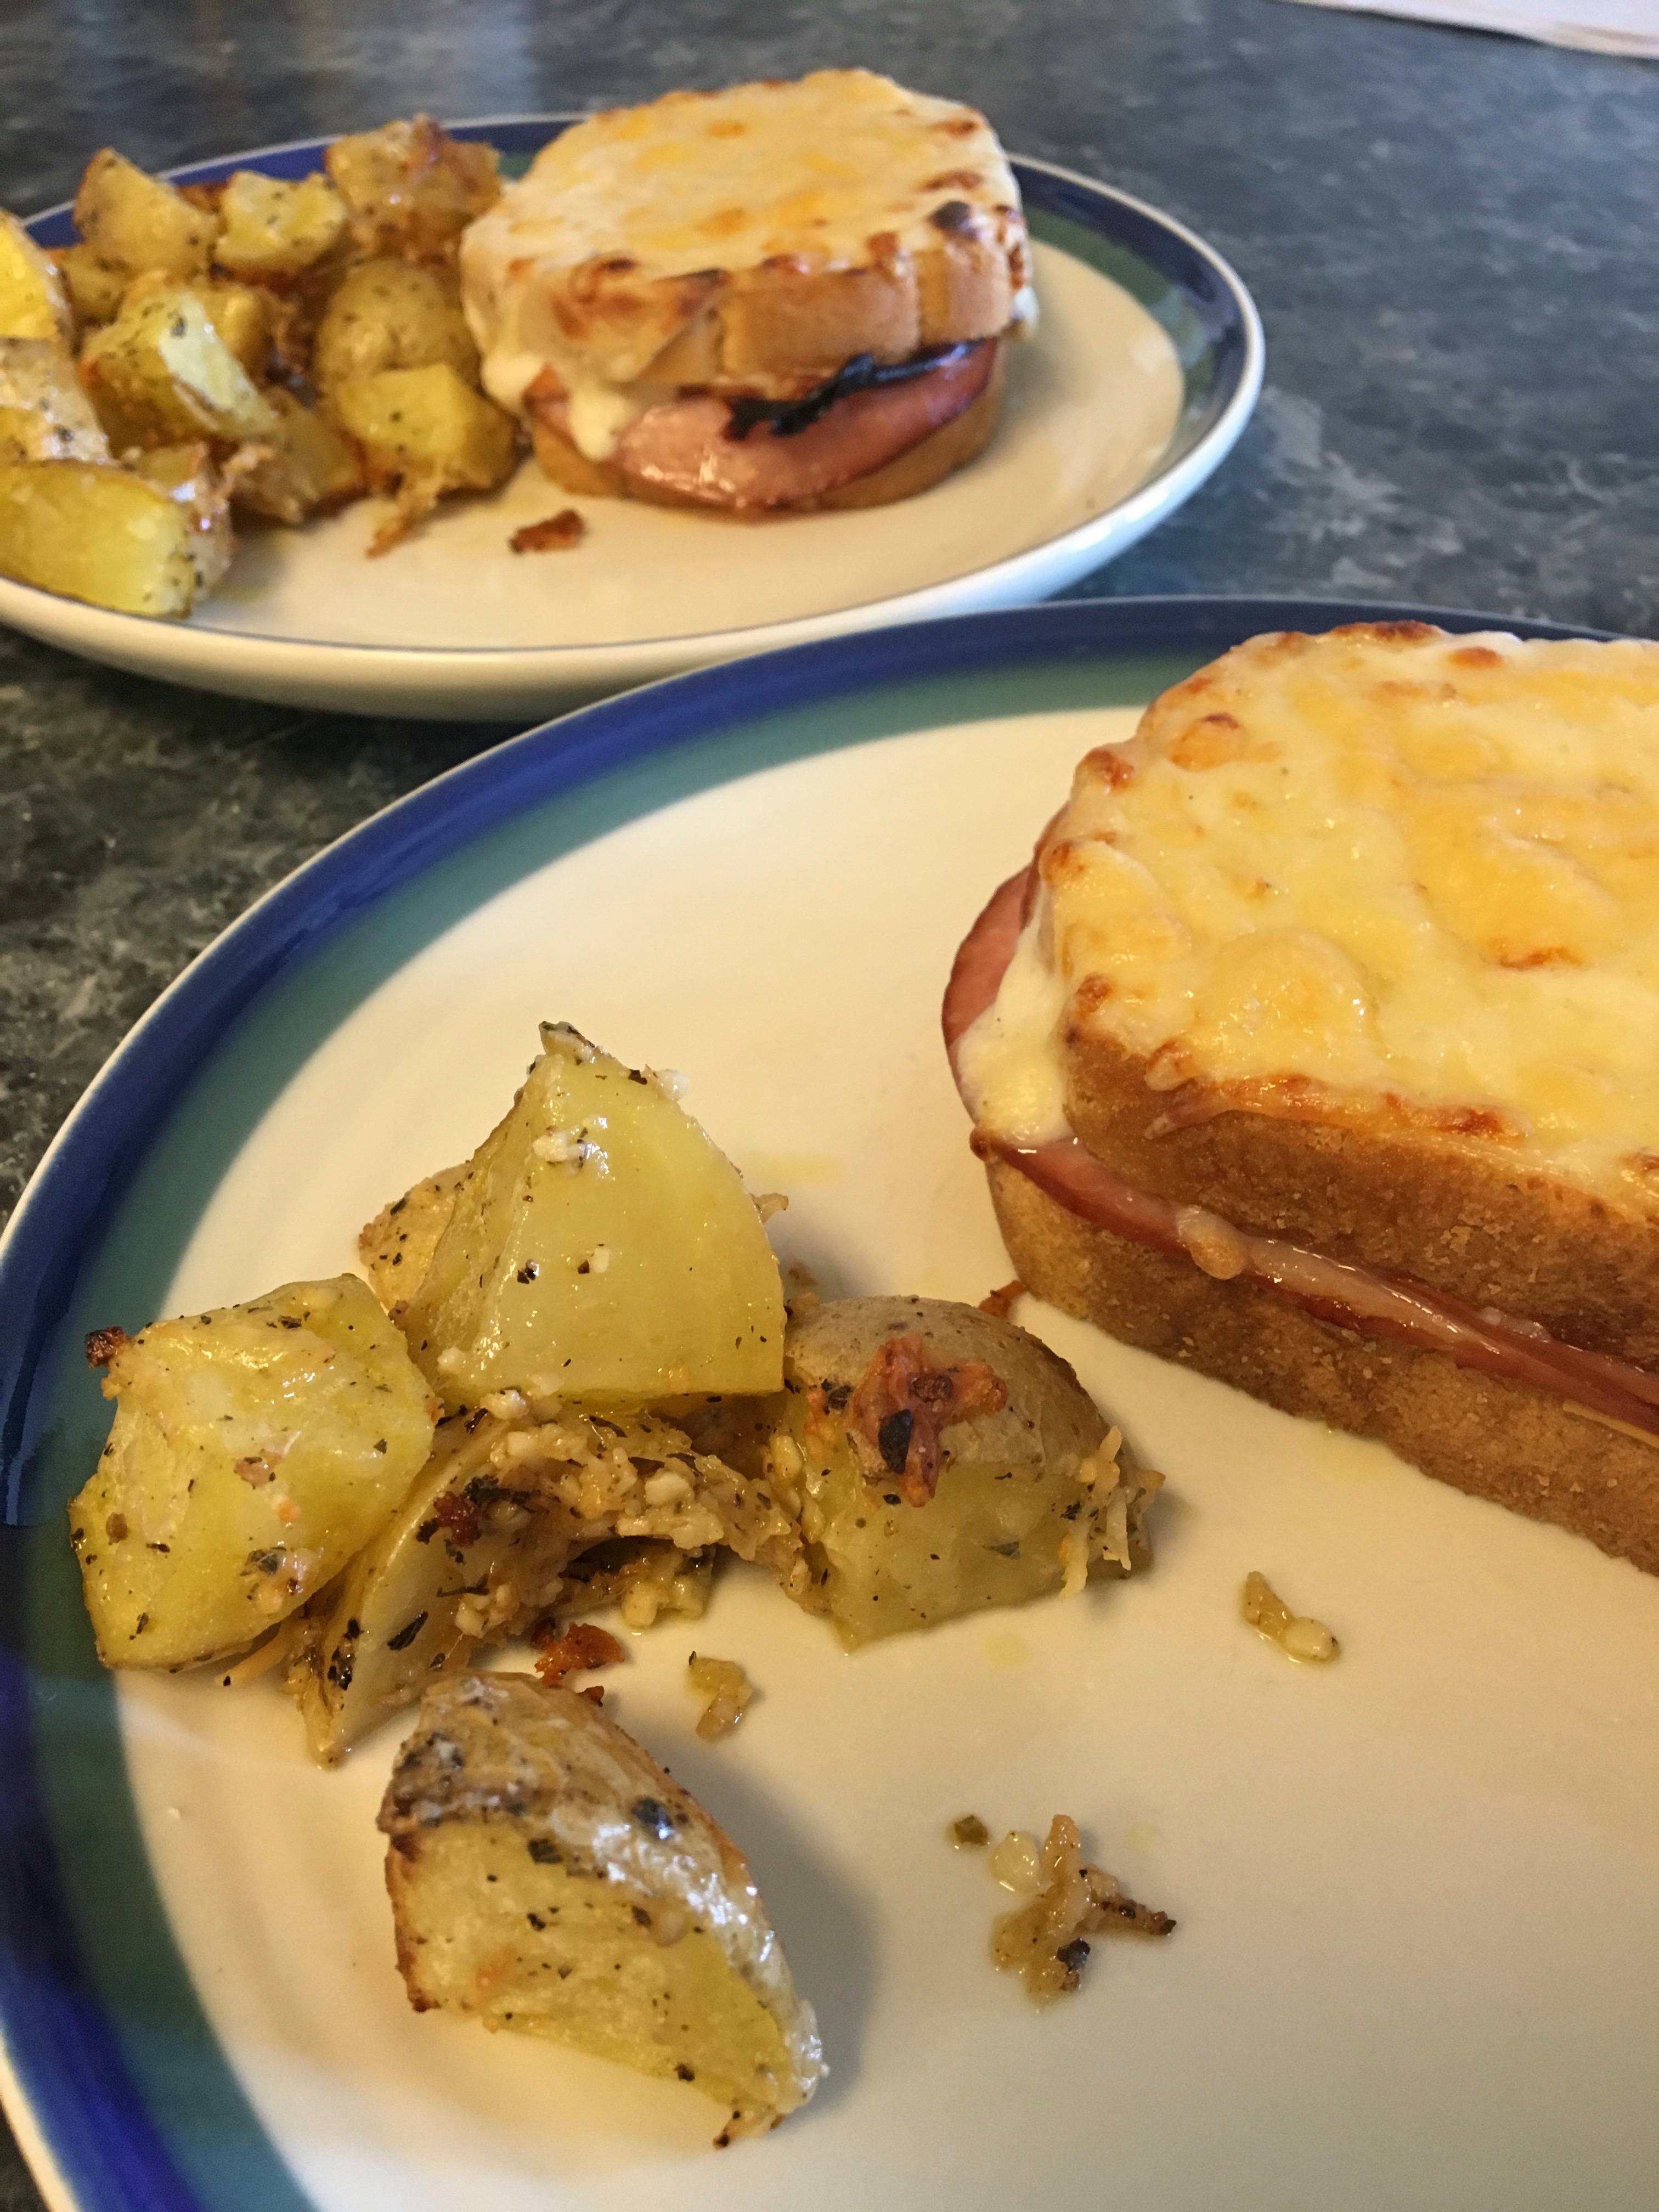
I get to listen as JJ and the kids begin to contemplate what to cook. He is going to cooks on my new stove. He is the first one. I’m so mad and jealous. Life just is not fair sometimes. I hear the sounds of excitement and ooh dad. They cook 2 pizzas at once in the convection oven. Works like a charm. I’m drifting off to sleep and dreaming of what I will cook.
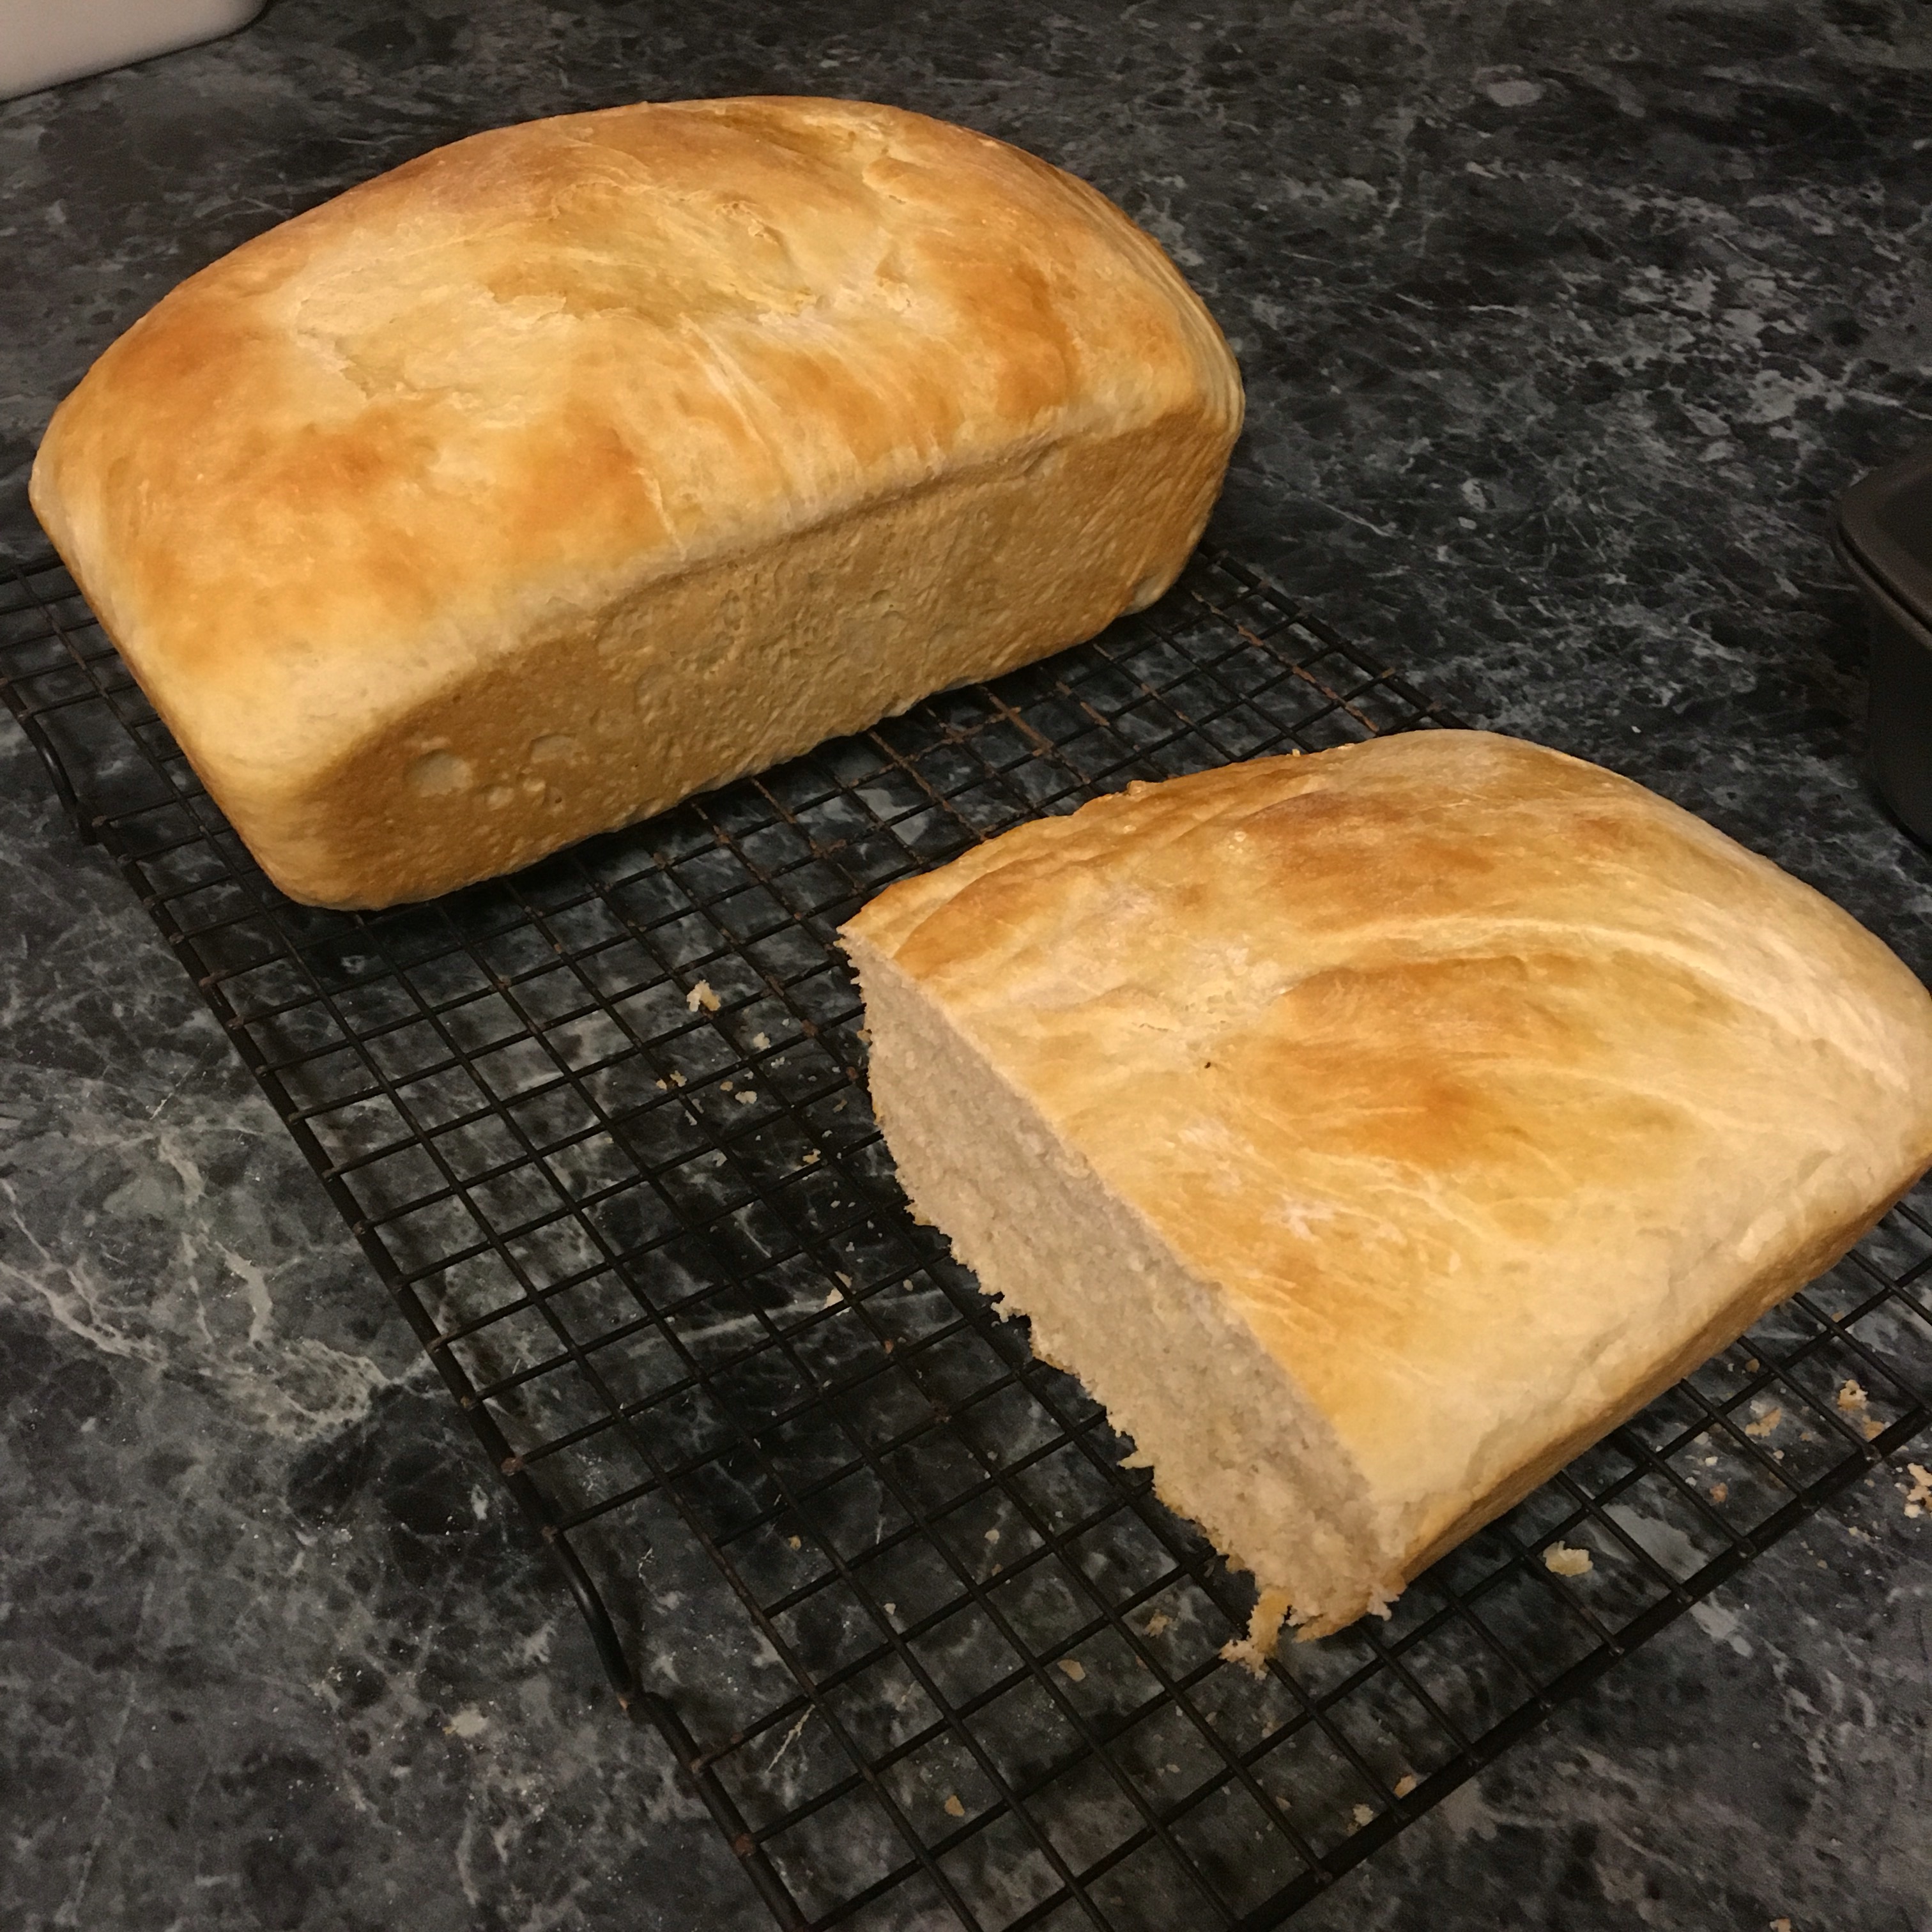
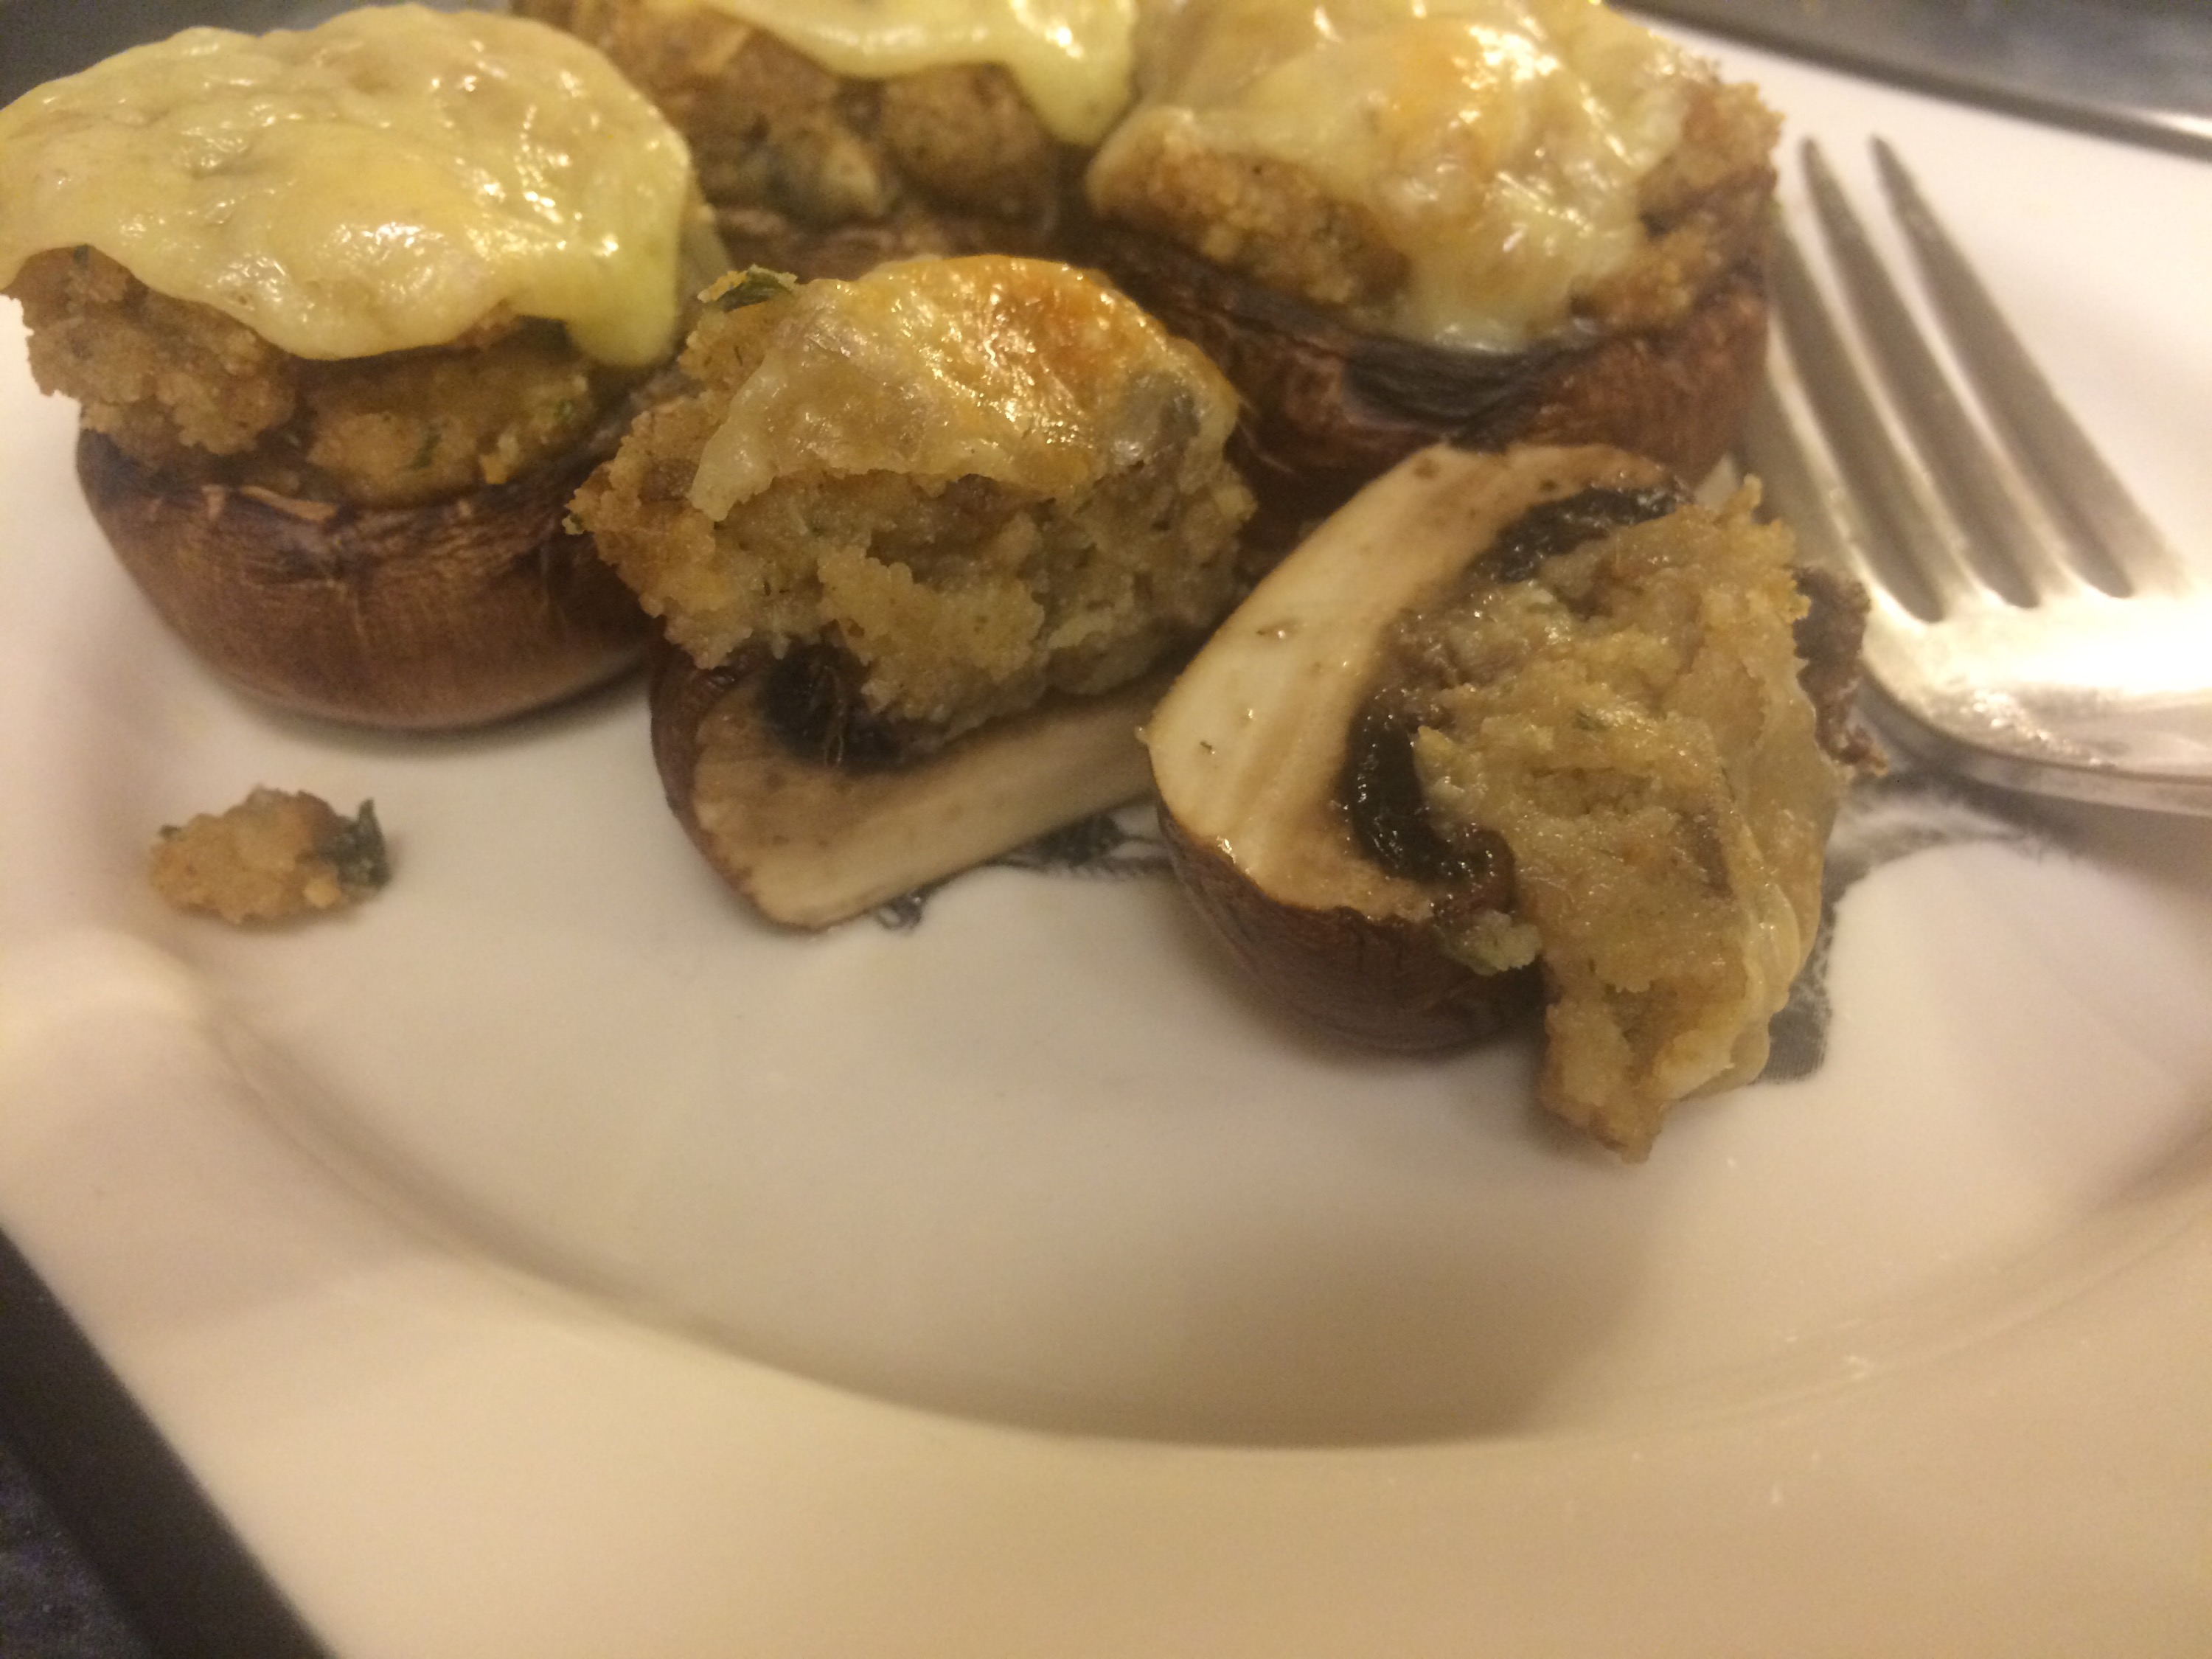
It has been almost two weeks and I absolutely love it. It cooks like a dream. The convection is wonderful. I plan to cook two pans of cookies tomorrow at the same time just to try it out further. If I had known I would have set that other stove on fire purposely. Just kidding!
Is it crazy to be that excited about a stove? Yeah I think so.