Mom and daughter. They have the best time together.


Mom and daughter. They have the best time together.
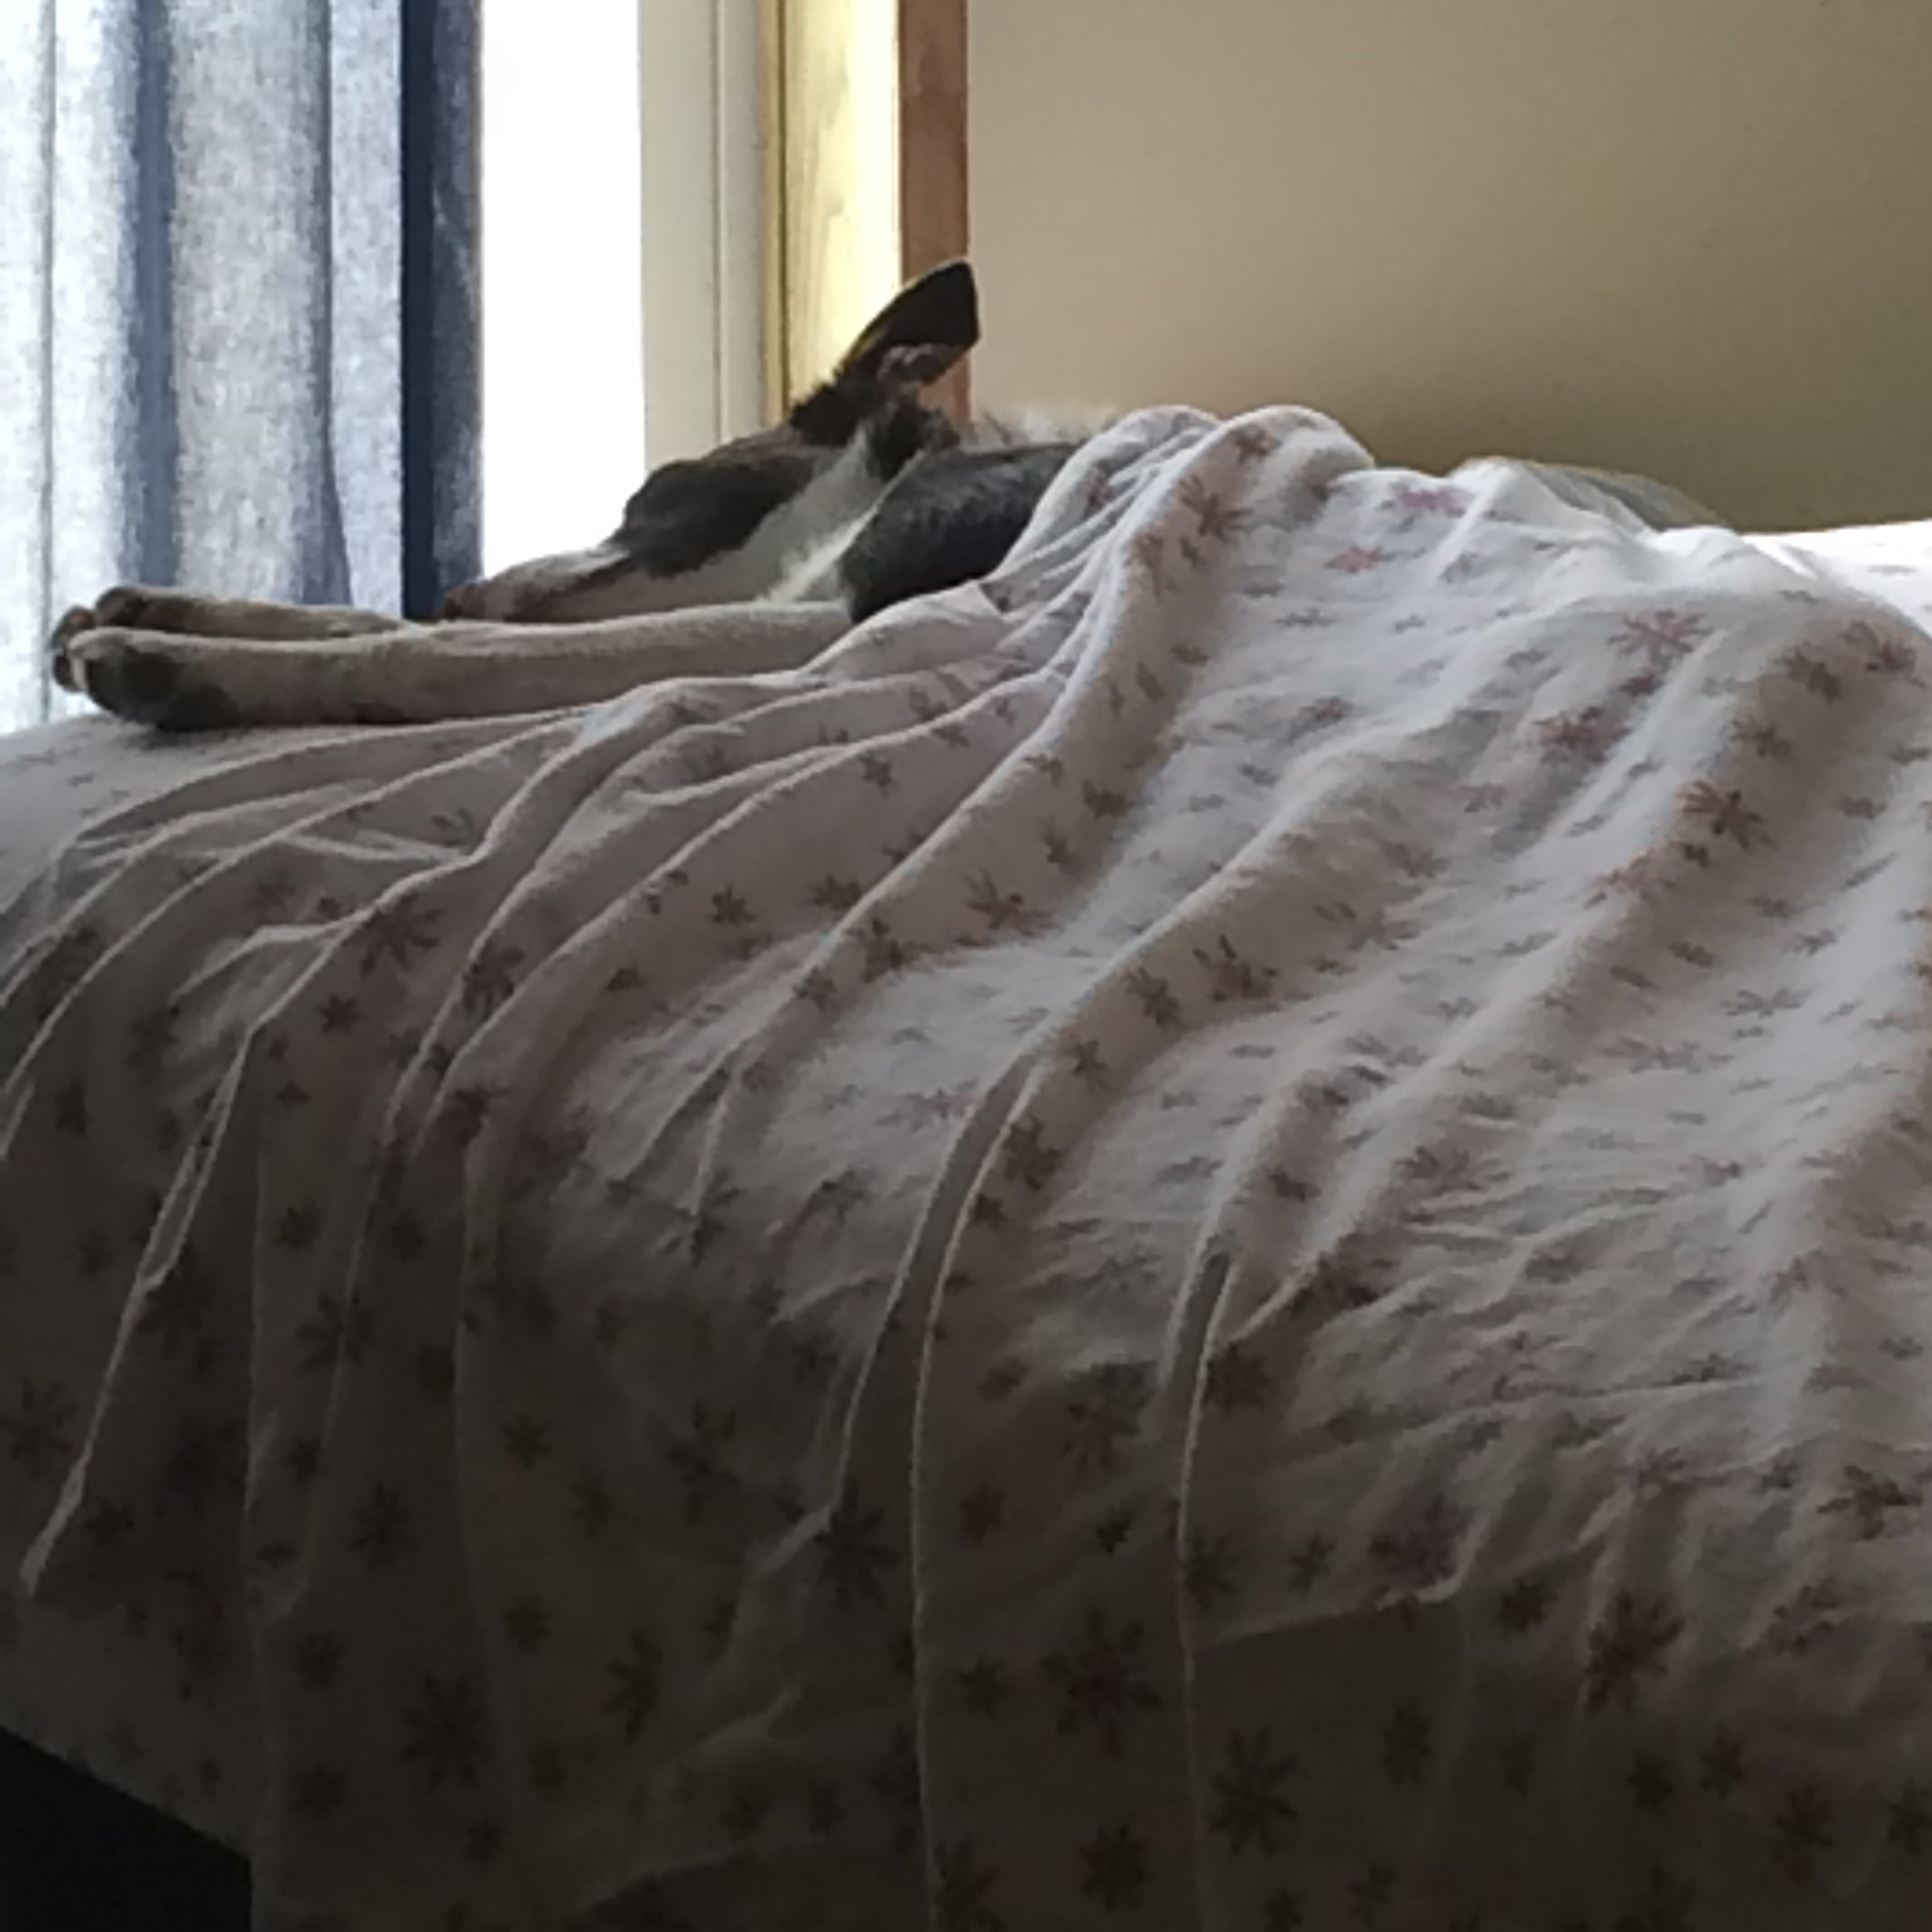
JJ went to move the old cows and decided to take the older dogs since it was a quick trail.
Jipsey did not think to highly on this matter. She watched out the window while I was making the bed. Then refused to move when I put the sheet on. Needless to say she is very pouty about being left behind.

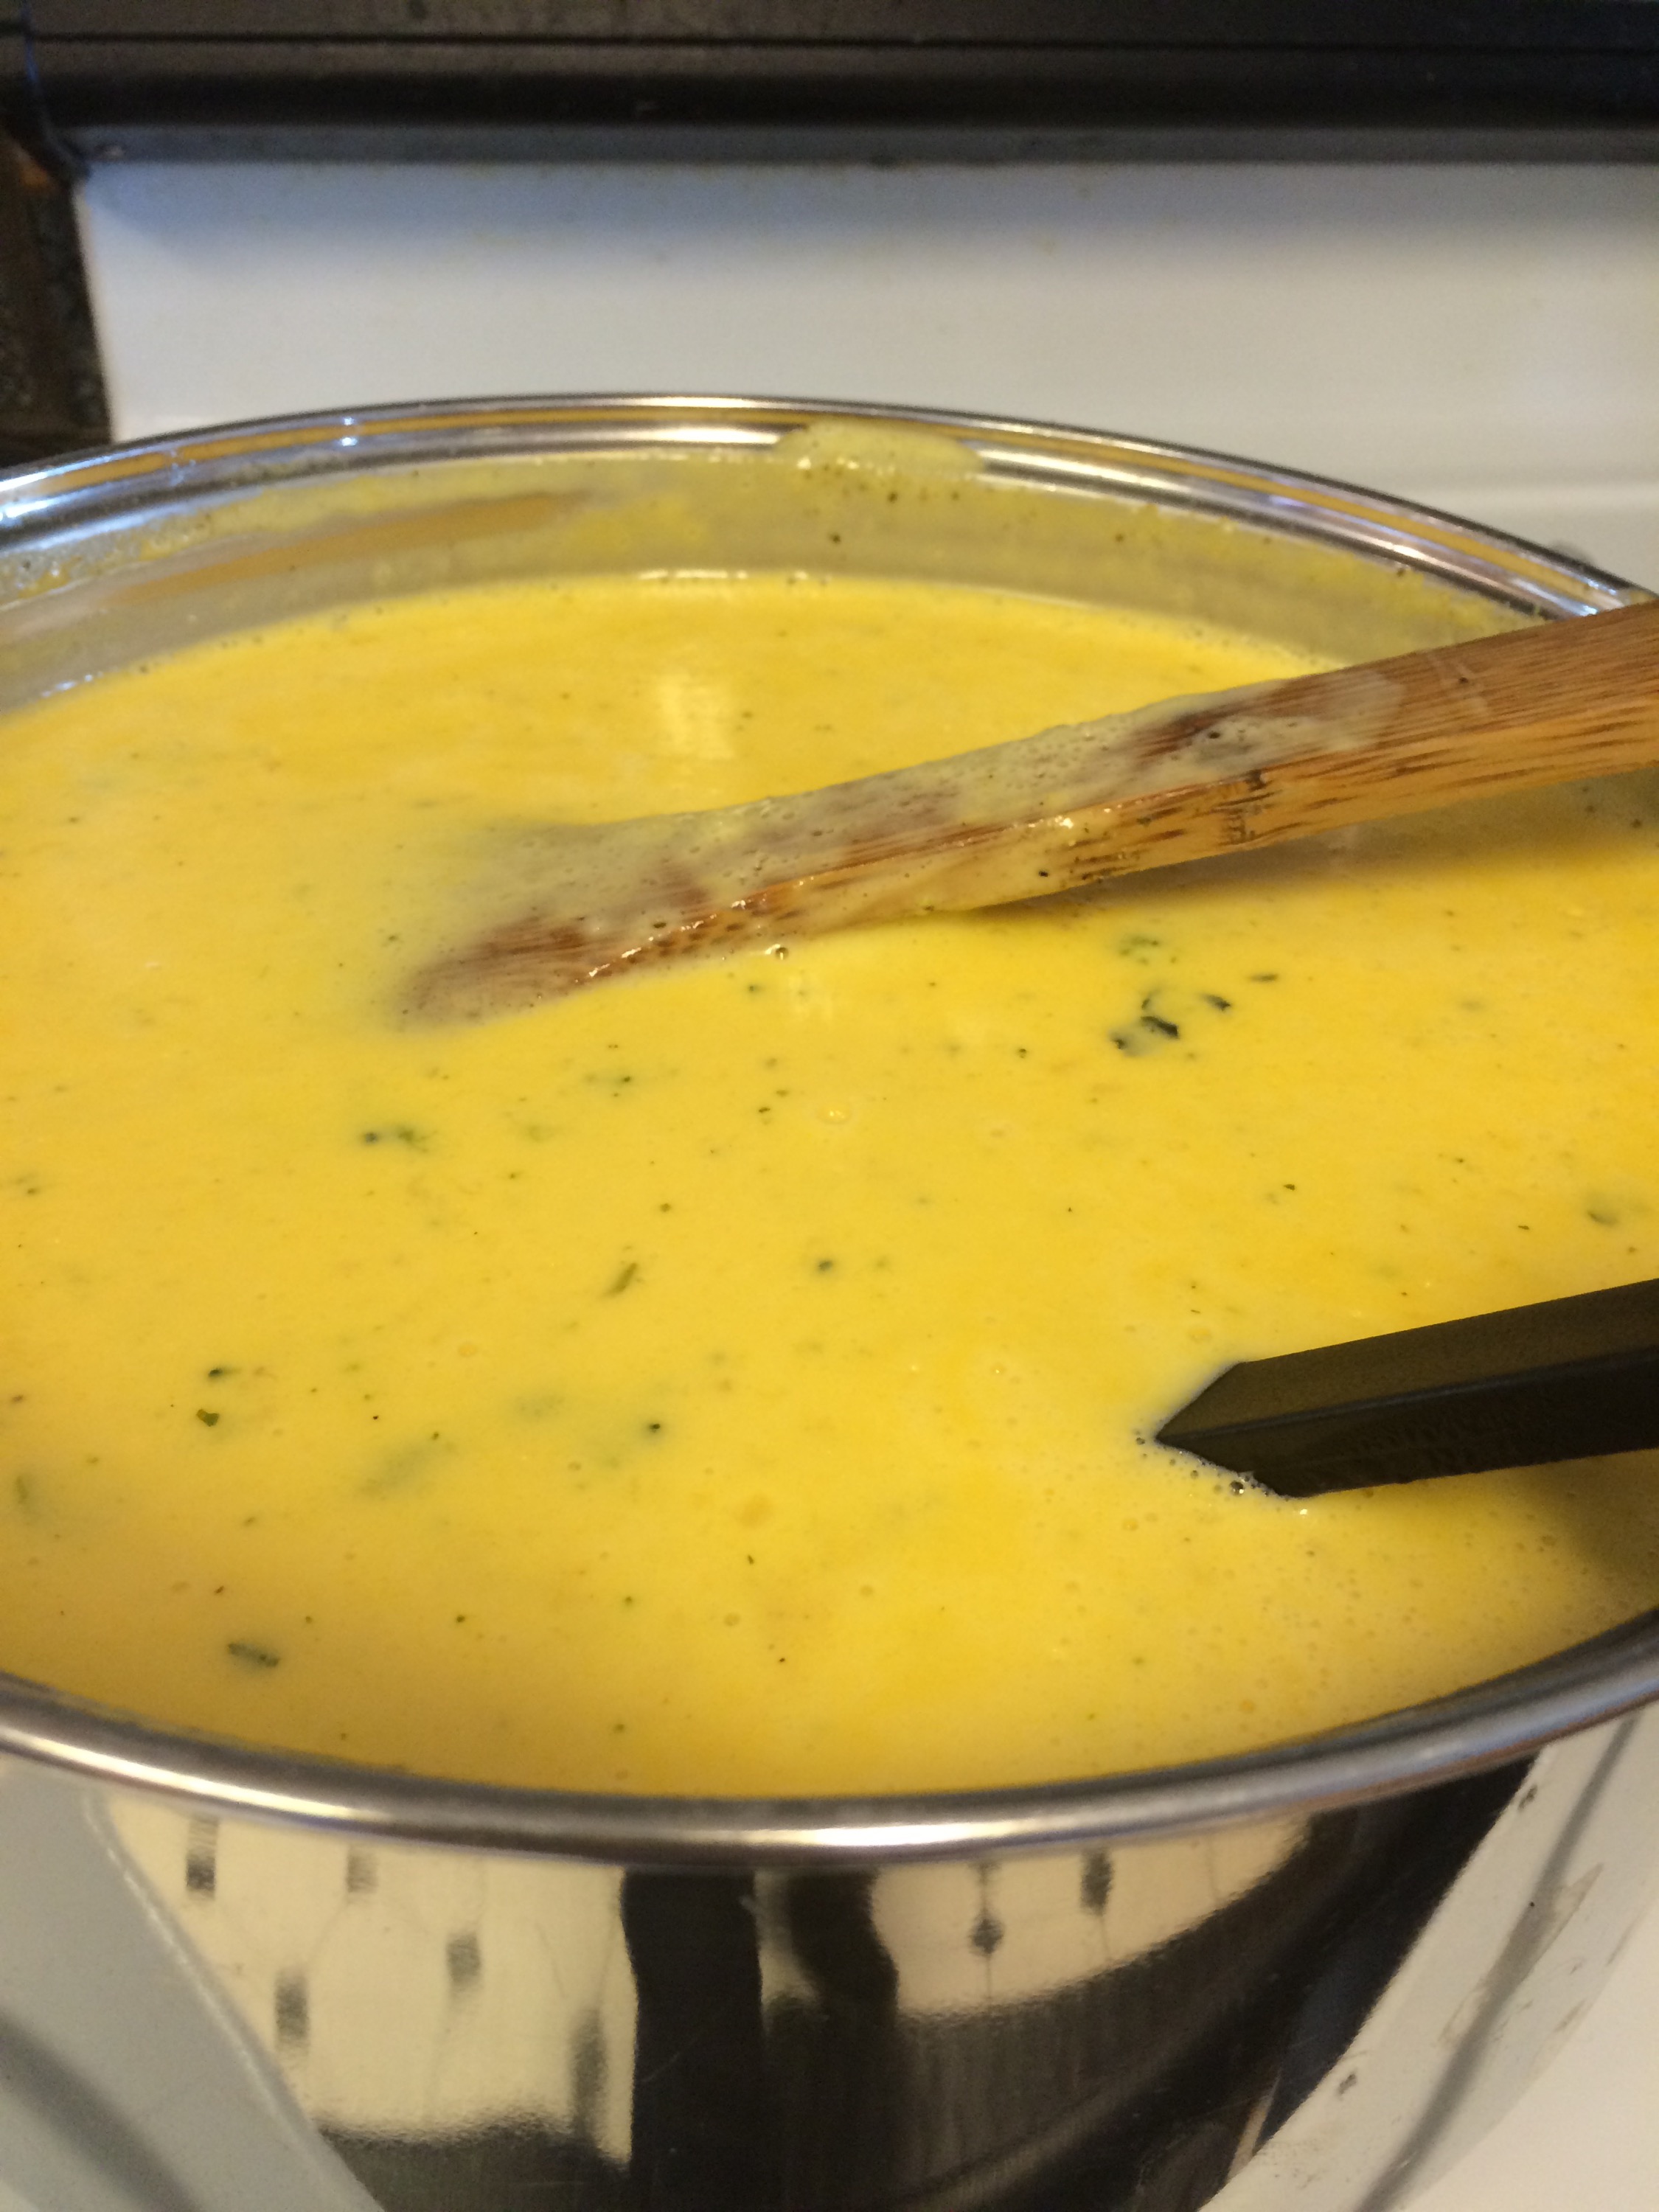
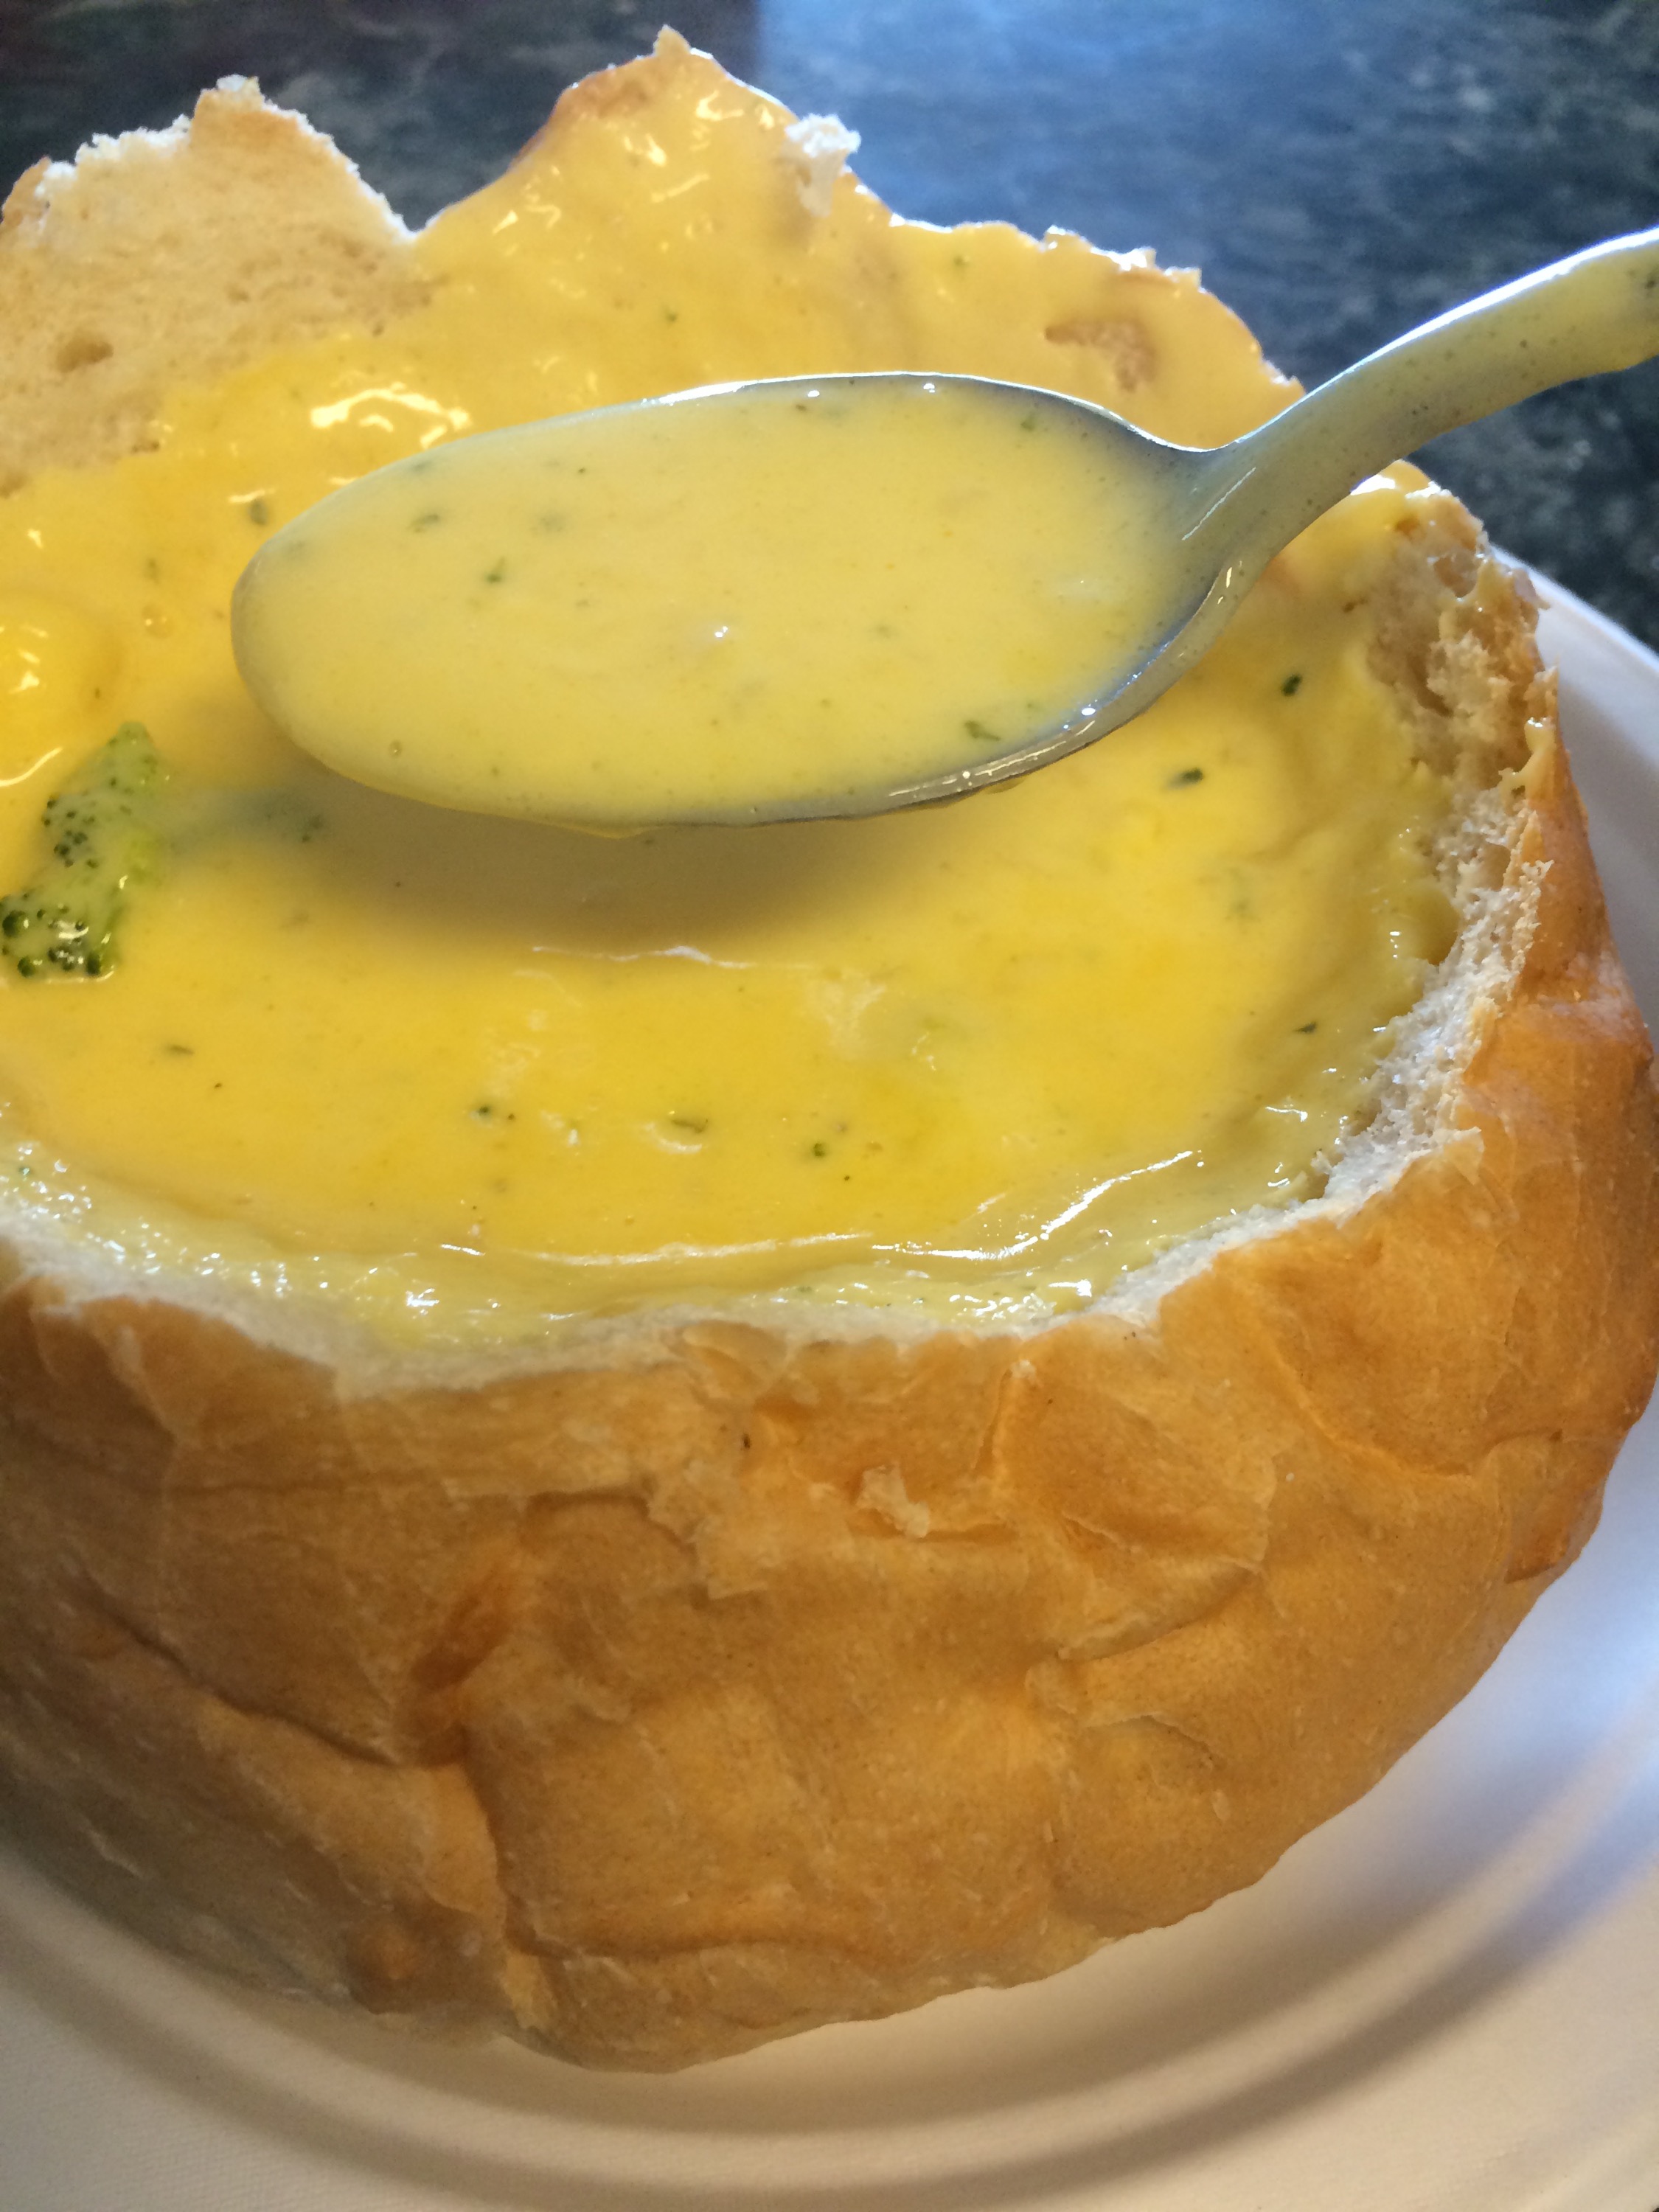
I woke up the other day with a craving for this soup inside a delicious bread bowl. Luckily for me the local grocery store carries fresh made bread bowls, and I found a recipe for the soup. Within minutes, yes minutes I had mouth watering soup steaming inside a delicious bread bowl.
My picky eater son would not touch the soup. However he would dip the bread into my soup and eat that. Weird!!
This was perfect on a snowy blowy morning. I think it will freeze well to be enjoyed many times through the winter.
1/2 cup butter
1/2 small onion, finely chopped
1-2 pkgs (16 ounces each) frozen chopped broccoli
7 cups of hot water mixed with Watkins Chicken soup base or 4 cans of chicken broth
1 pound (1 box) of processed cheese, cubed. (I used 1.5 boxes)
1-2 cups heavy cream
1 tbsp garlic powder
1/2 cup cornstarch
1 cup water
salt and pepper to taste
1. Melt butter in a large soup pan. Toss in onions and sauté until tender. Stir in the broccoli (depending on how much broccoli you want add 1 or 2 bags) and cover with the chicken broth. Simmer until the broccoli is tender, about 15 minutes.
2. Reduce heat, and stir in the cubed cheese. Stir until completely melted. Paying careful attention that it is not sticking to the bottom of the pan.
3. Add the cream. Stir to combine. Next mix the cornstarch and the water. Add to the soup mixture. Stir to incorporate. Stir often until thickened to your liking. Add the garlic powder, salt, and pepper to taste.
4. Pour into bread bowls. Enjoy
My daughter asked for a coconut cake for her birthday. I was so dreading making the traditional two layer cake topped with mounds of coconut. It is just such a heavy cake.
Although it is delicious and one of my favorites, it is a big cake. To be honest, it just doesn’t get eaten. My family will take a slice maybe two, then that is it. It will lay to rot away.
So I went searching for something new. I found this glorious little cake. It is so rich and wonderful. I waited for it to be nice and cold the next morning. However my family dove in as soon as it was cool enough for me to frost.
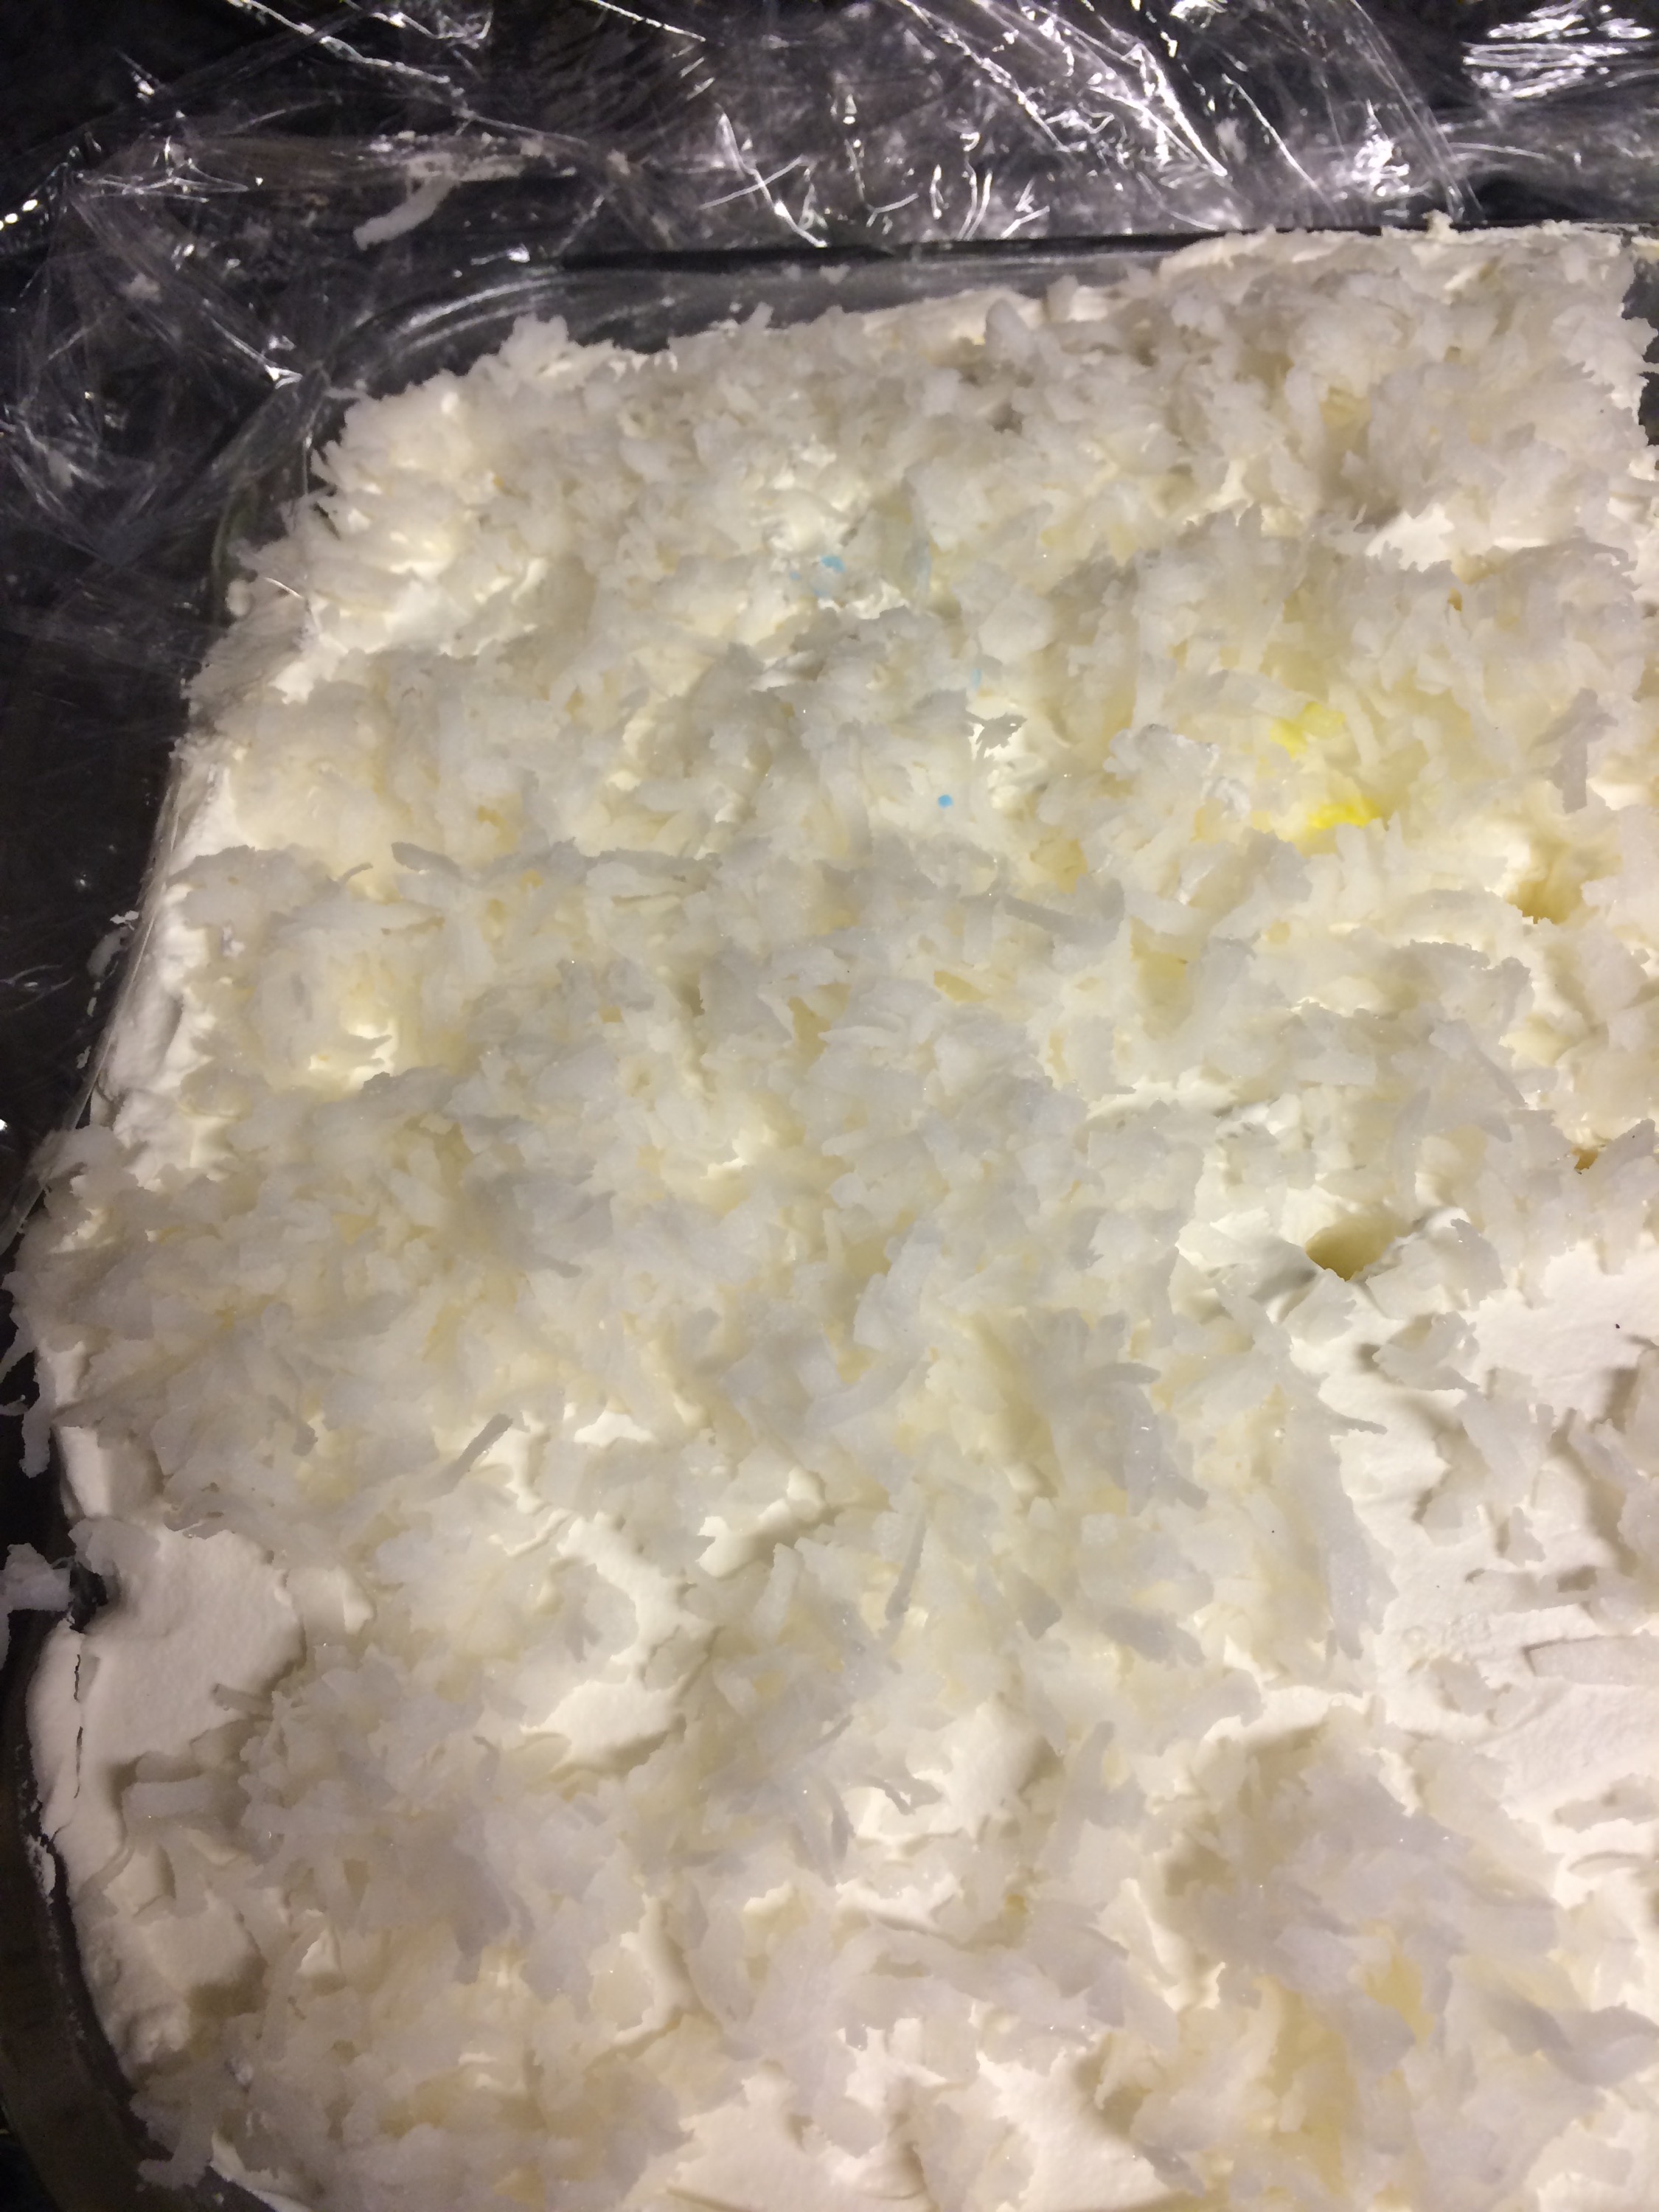
It is basically a poke cake, but it is turned up a notch. If you love coconut, this is the cake for you!
Note: You will notice a little yellow spot on the picture of the cake. That is from a dripping birthday candle.
1 box white cake mix
1 can sweetened condensed milk
1 can cream of coconut
1 large tub of Cool-whip topping
Sweetened flaked coconut
1. Bake cake in a 9×13 pan according to pkg directions.
2. In a small saucepan combine sweetened condensed milk and the cream of coconut. Don’t boil, just warm throughly and stir until combined.
3. Take cake out of the oven when a toothpick comes out clean. Poke holes over the cake. Pour the coconut mixture over the warm cake slowly. Sprinkle with a little bit of coconut.
4. Let cook completely. Too with cool whip and sprinkle with additional coconut. Place in the fridge to chill.
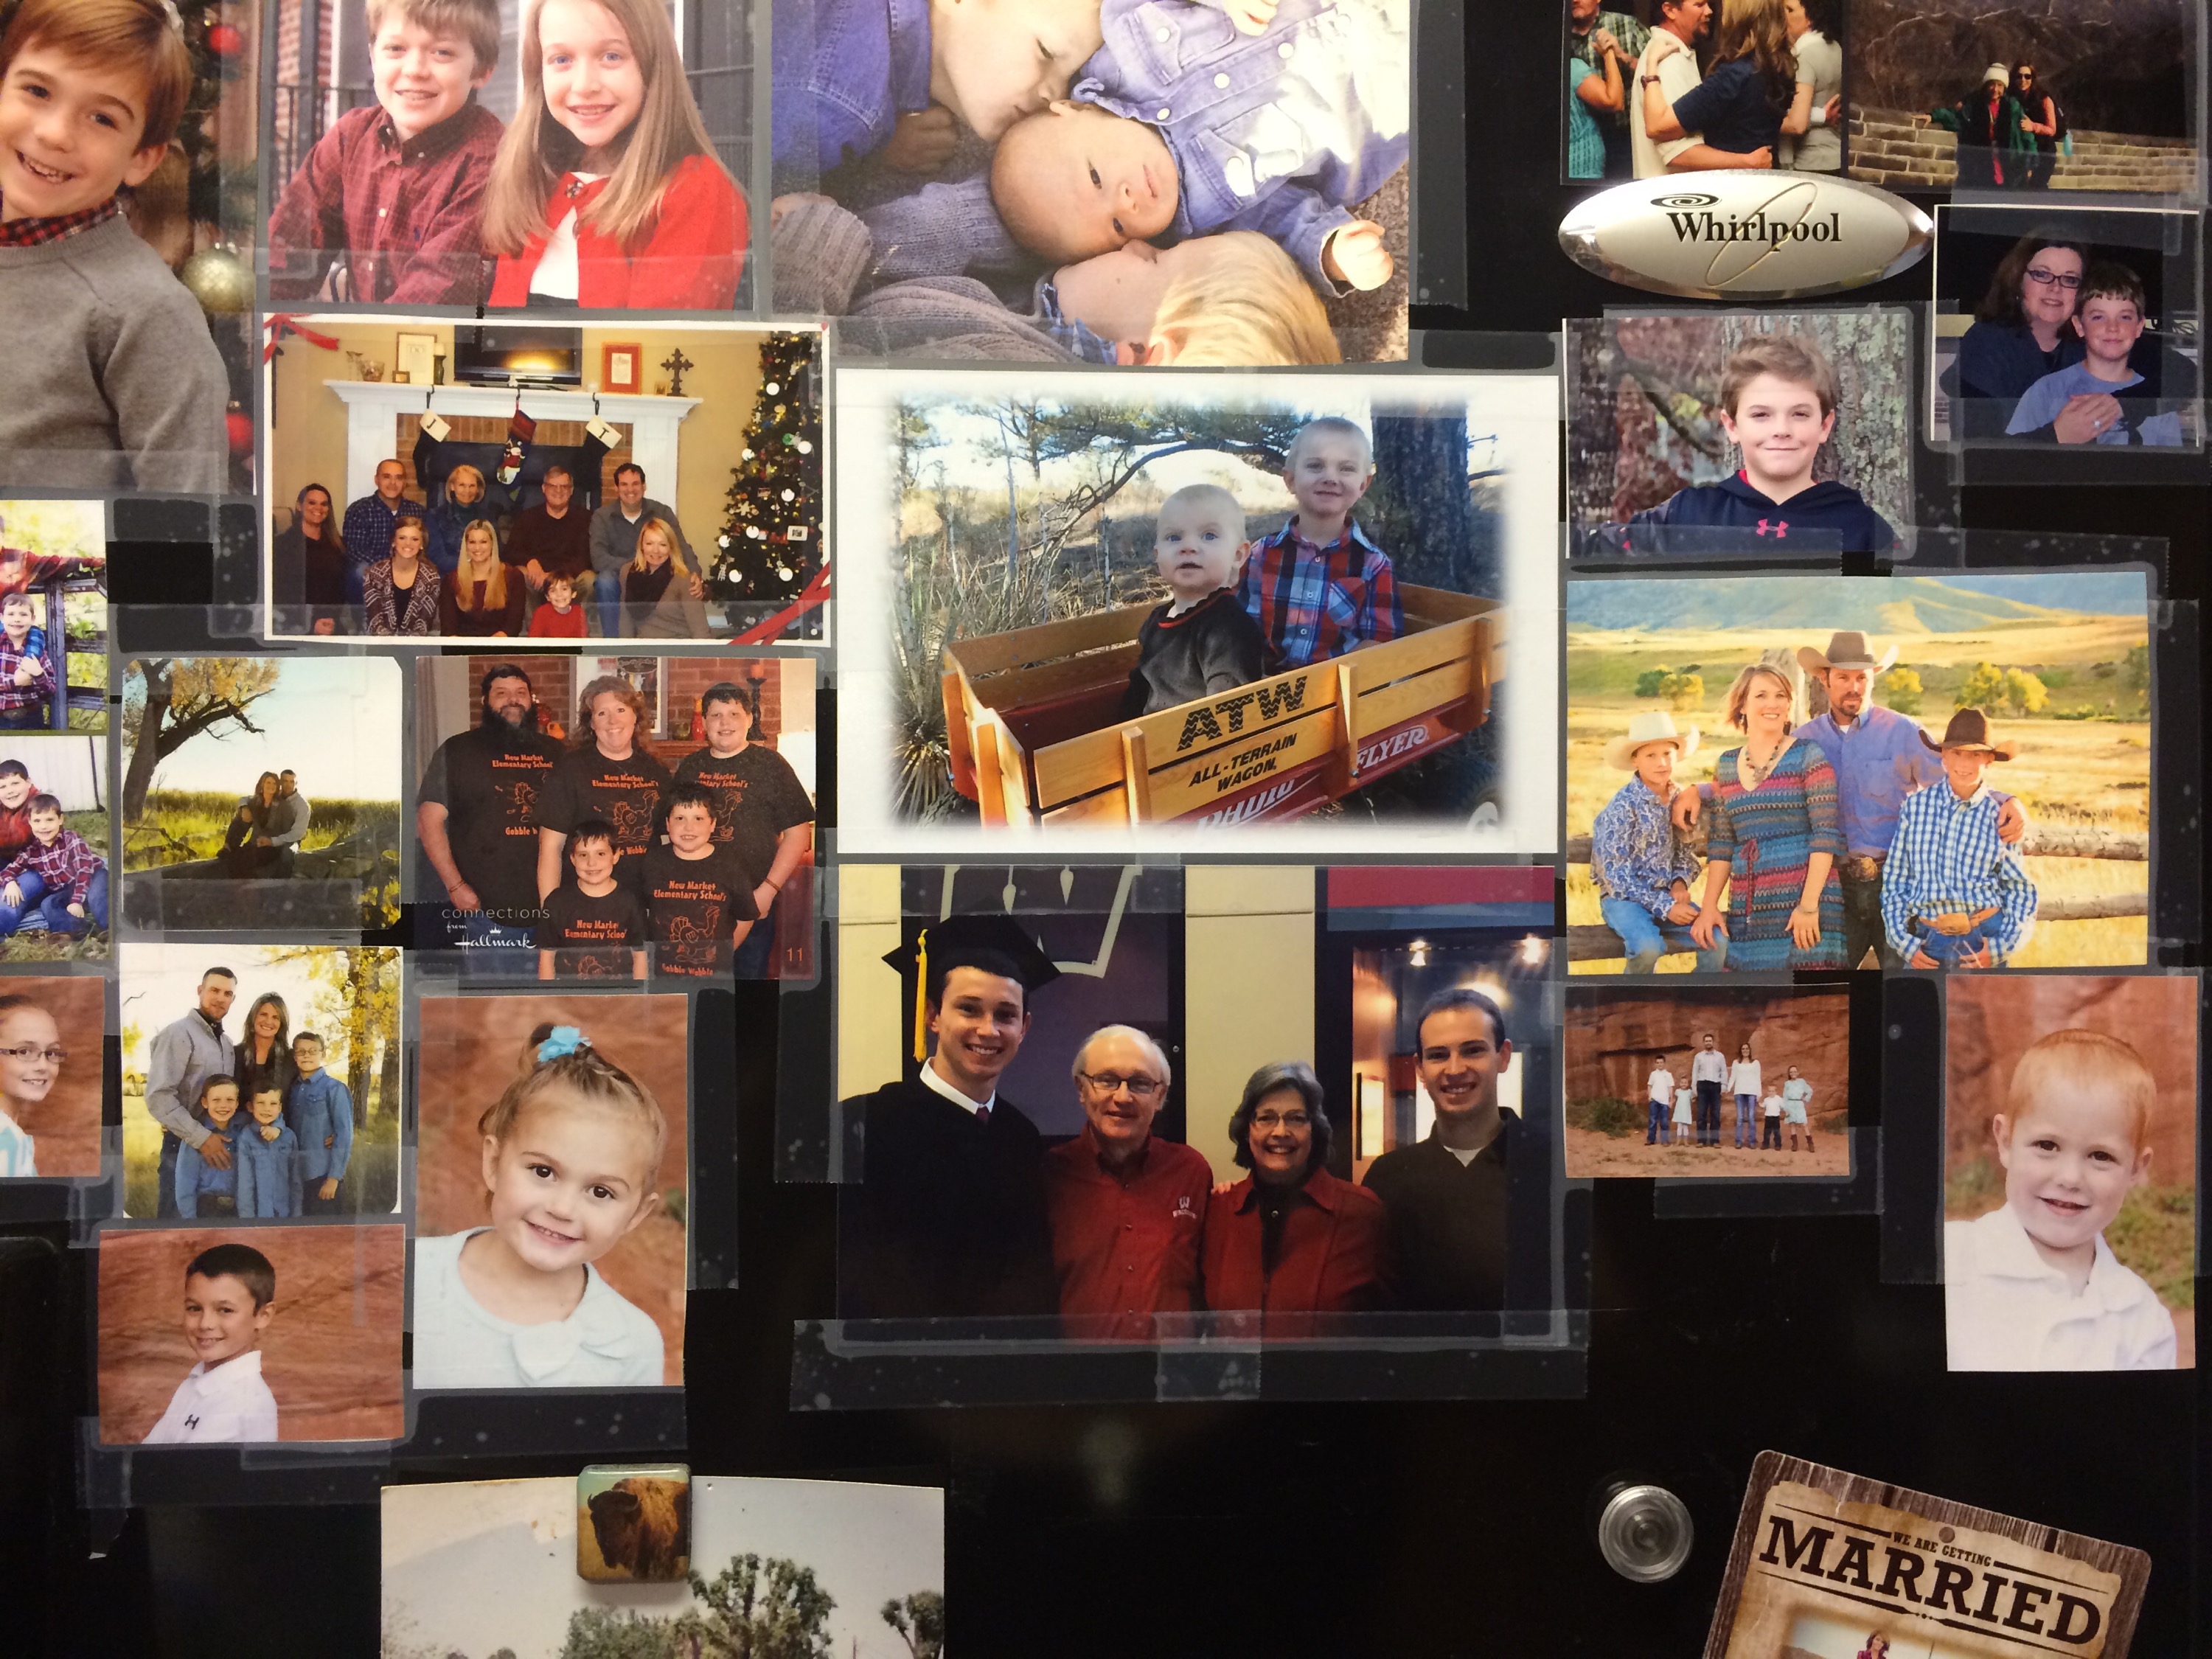
It is amazing how beautiful Christmas cards have become. Every year when I receive cards from family and friends I am amazed at the new backgrounds and styles of cards.
I especially adore the pictures of family and friends. I get a snap shot of how much kids have grown. The beaming smiles just warms your heart over the holidays. Then we are faced with the dilemma. What do we do with these picture cards?
I recently had someone tell me how much they enjoyed them, but that they just throw them in the trash. It is sad that money is spent, sometimes lots of money on cards only for them to wind up in the landfill.
Many, many years ago I began making a collage on my fridge with these cards. I simply cut out the pictures and tape them on one side of my fridge. You would not believe the response I get. Oh, many will say that they would not do that because it is tacky or doesn’t look nice. However almost everyone graduates to my fridge to see and look and ask who people are. They will gather to look at how people have changed or If they know someone they will ask how they are doing, or what they have been up to.
I will take them down when I have my next set to put up. This has become my own little tradition. I so adore all the pictures that my family enjoys seeing them all year.
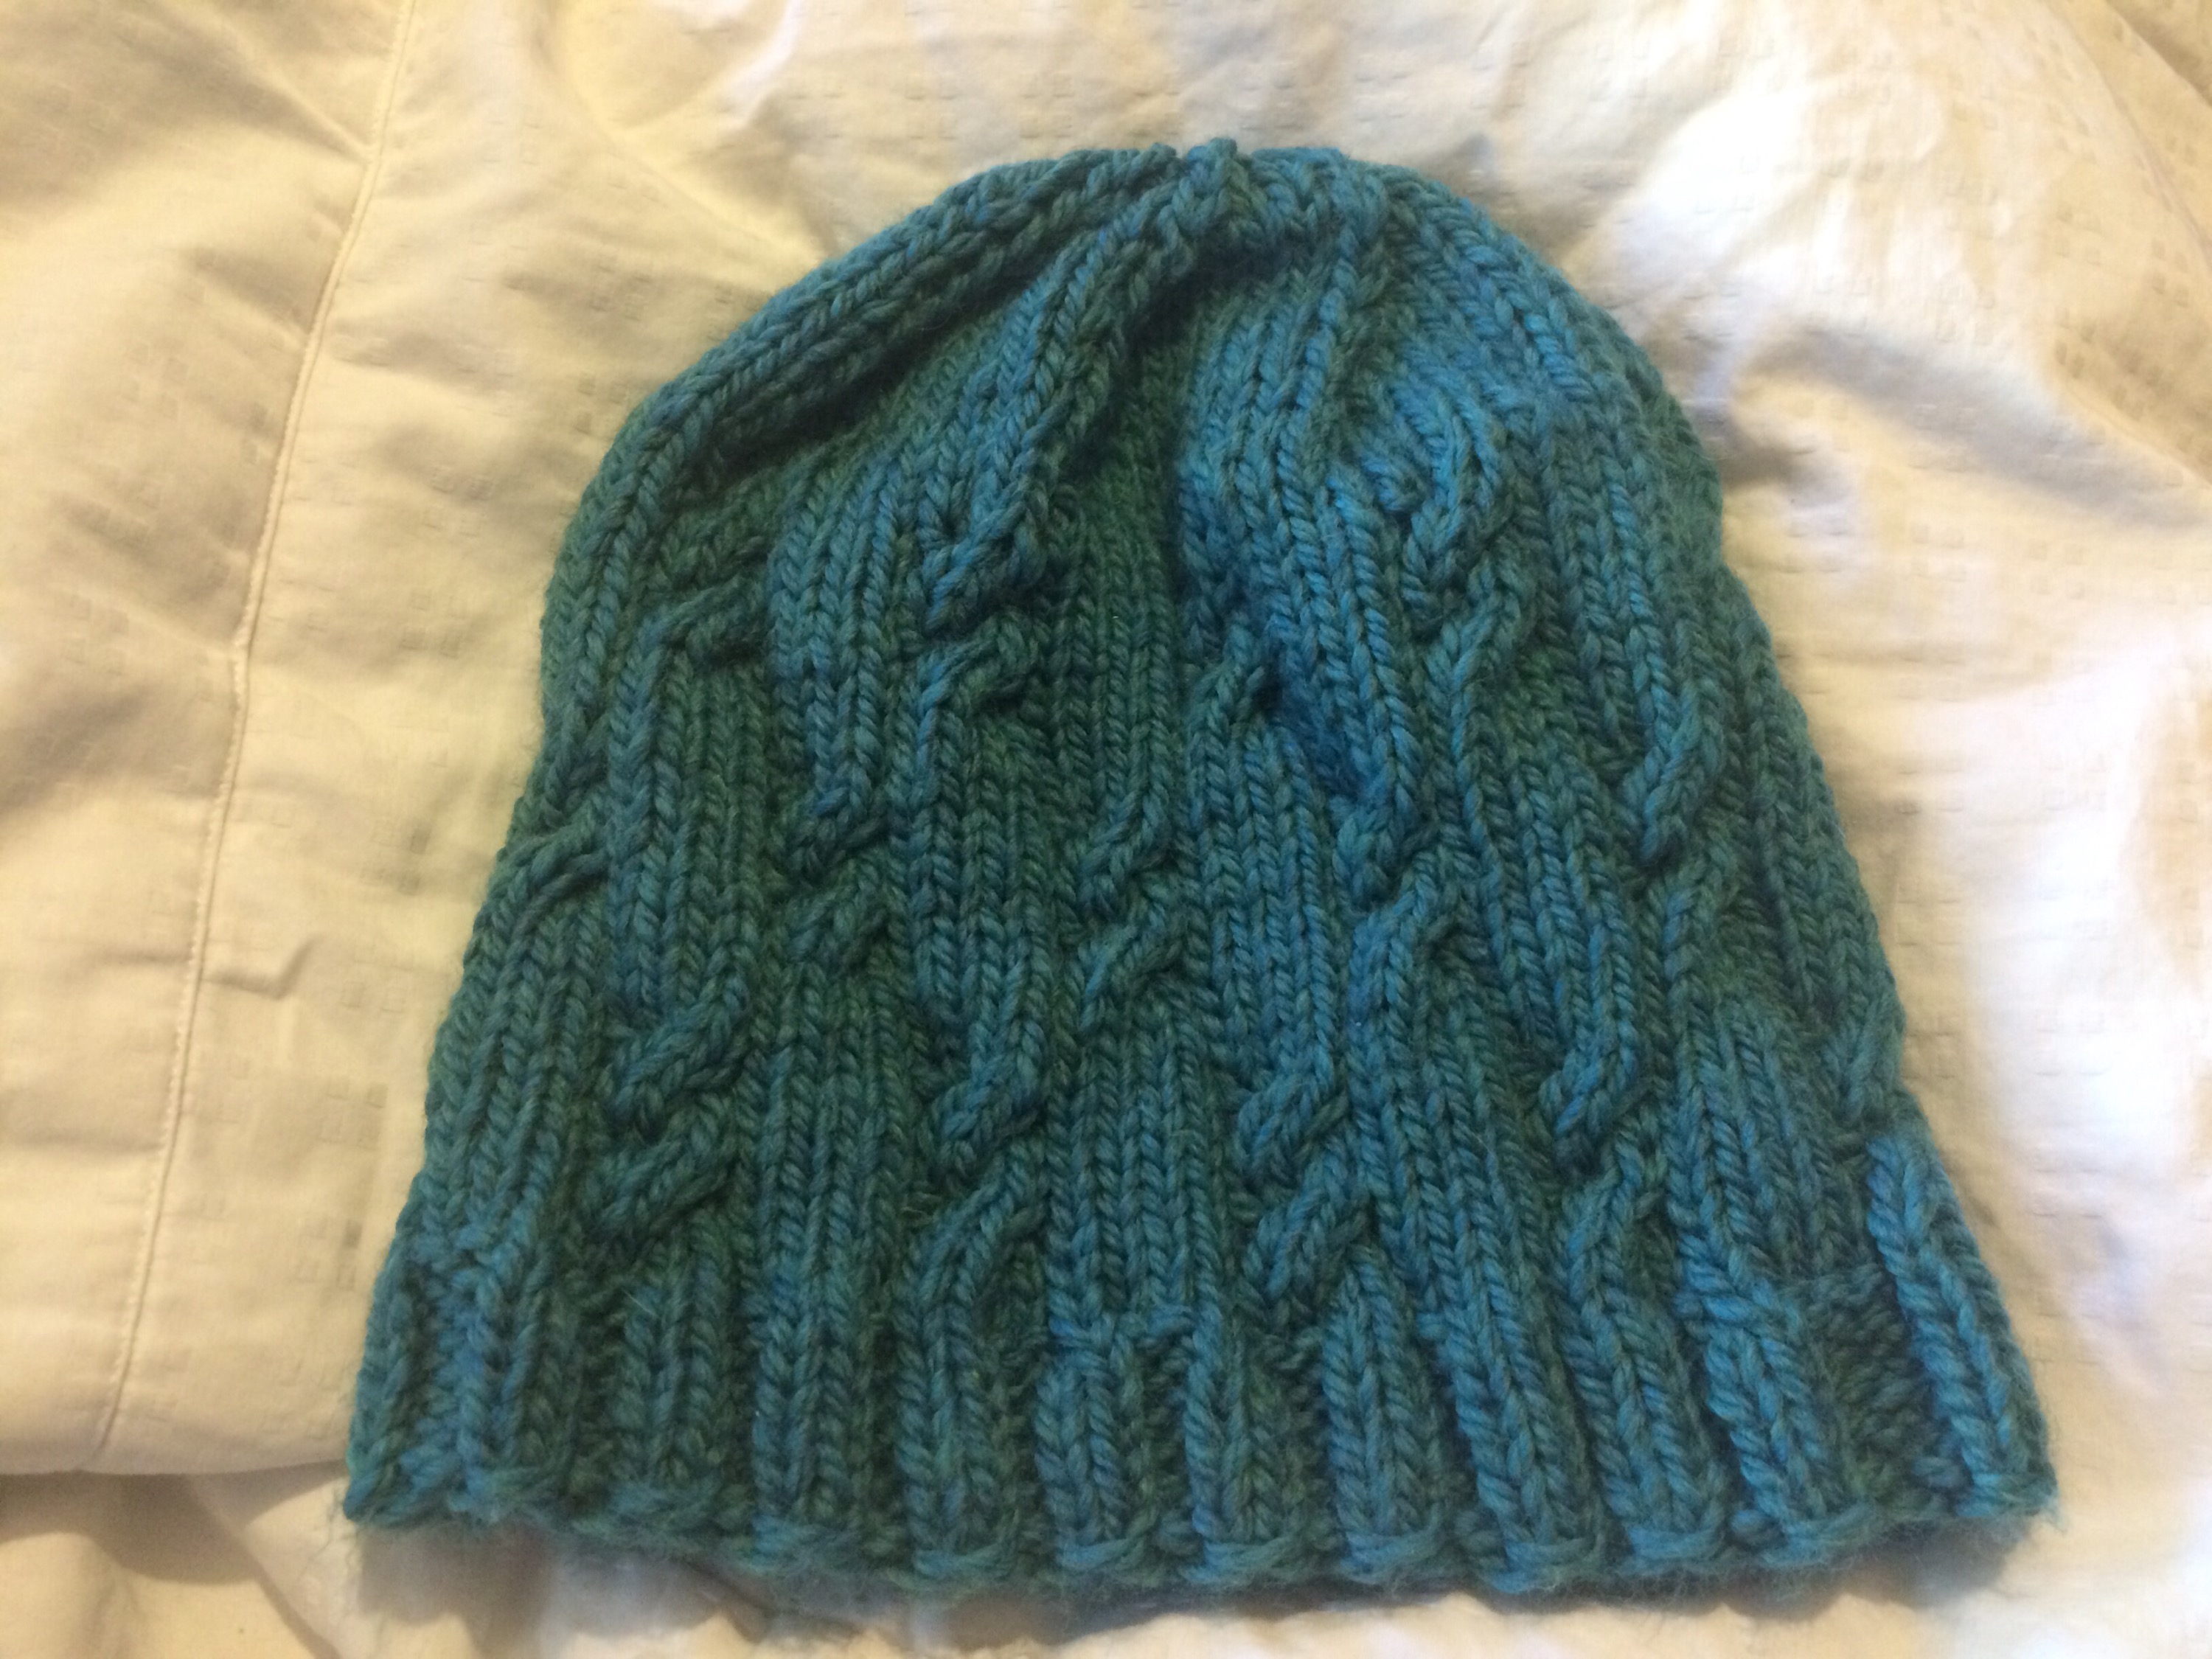
I looked and looked over the past six months to find a hat pattern for this yard. It is a hand-painted yarn that I picked up at the Brown Sheep company in Nebraska. It is a very gated yarn and trying to find a pattern is hard. Reading so much on patterns I found you either want the pattern to stand out or you want to going to stand out but you can’t have both. We sticking with that theory trying to find a pattern that will fit this yarn became difficult.
Unlike most people who find a pattern and then go to the yarn store and find a yarn that fits it, I am backwards. Whenever I am at a store I buy lots of yard that I like and then try to find a pattern to make with them later needless to say it has created quite the yarn stash. However I have some of the prettiest yarns and now it is just finding fun patterns to make and I seldom make the same pattern twice.
So this hat is just a simple reading and then knitting all the way up with the decreasing pattern at the top. Very simple but I think it fits well with his hat. It has a slight slouch so it’s kind of stylish. The colors go well with anything and I’m not sure if I’m going to keep it or give it away for now it’s going into my completed pile and I’ll figure that out later.

I started this hat with really no one in mind. I used sons fabulously soft wool and knew that it would be a great gift no matter who I decided to give it to. Heck, I almost kept it myself.
The pattern was super fun and it knitted up quite nicely. I am beginning to have quite the collection of Addi Turbo Needles and it is so nice to find a pattern, then be able to grab yarn and the needles right out of my room. I don’t even have to go shop.
Although when you throw in a needle every time you shop from Amazon, they add up quickly. Let’s just say Amazon.com is my greatest friend. When you live an hour and a half from the nearest Walmart and even further from a good yarn store, you begin to order everything you can online. I can have it delivered free and I don’t even have to get outside.
Anyway, Kristie tried on several hats that I had made over Christmas, but this one looked really good on her. I thought the green went wonderfully with her eyes and her hair. Hopefully she agrees and will wear it when it gets cold. Here at our place we wear hats everyday. If it’s not to keep the cold out. It’s to keep the wind out. So making hats is not only fun, but functional and we love them.
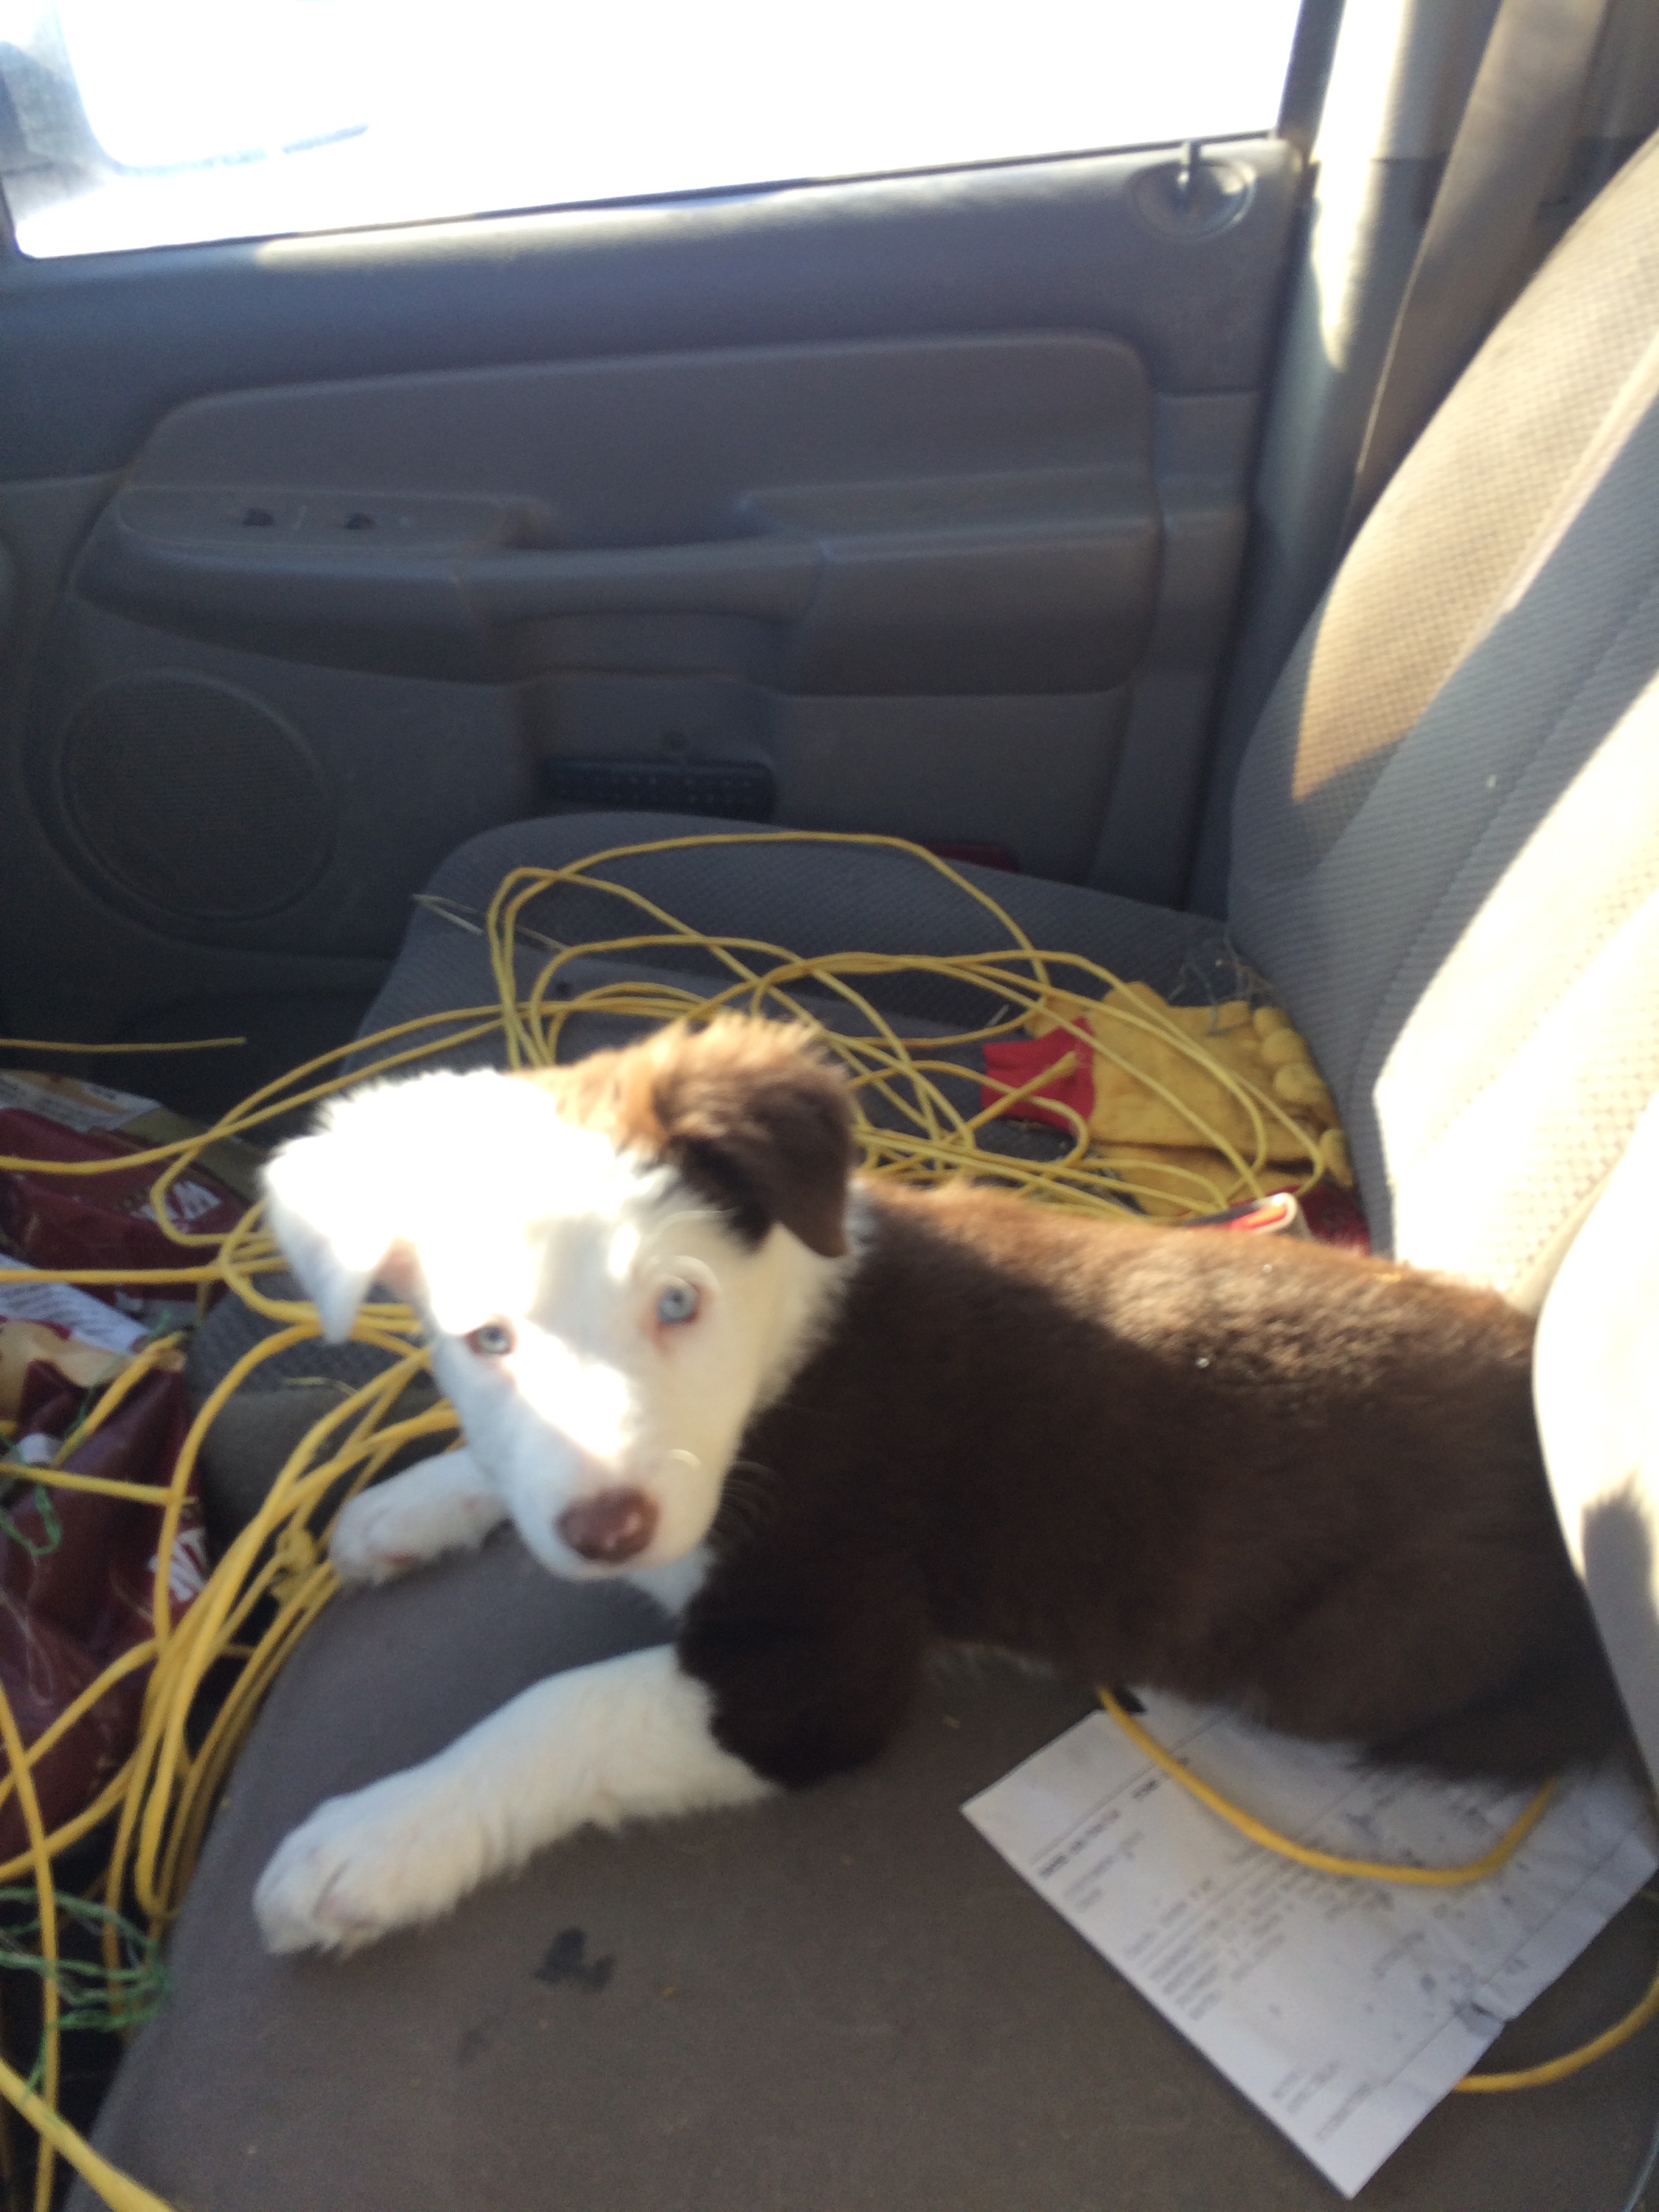
Boo is being thrown right into ranch life. She went with her mom and I to help feed the sale bunch. She really likes to sleep in the pickup, but all that will soon change when she begins to really notice the cows.
My Aunt Jo makes the most amazing ham. We have had the privilege of eating her delicacy since we were little. At every major holiday she would make this monster of a ham. When she would arrive with that ham, we would all peak into the kitchen to see if we could get a little bite. Her ham on my mom’s rolls! Oh it takes my breath away!! The rolls melt in your mouth and then that warm, sweet ham. Oh my goodness, you are truly missing out.
It is amazing. I absolutely love it. It is wonderful the first day, amazing the 2nd on leftover rolls, and positively decadent in ham and potato soup. However you decide to use up the few leftovers you will have, you first must make it. You will not be disappointed.
We happend to be at the grocery store yesterday and picked up a nice spiral sliced ham. I cooked it with Aunt Jo’s recipe today for lunch. We were not disappointed. It is mouthwatering!!

|
1.Remove the skin from the ham; place fat side up. Score fat in a diamond design and stud with cloves. Place ham fat side up on rack in a shallow roasting pan. Insert meat thermometer, making certain end of the thermometer does not touch fat or bone. Bake at 350 degrees for 3.5 – 4 hours
|
|
2.Combine 1/2 cup brown sugar, cranberry juice, honey, cider vinegar, flour, and mustard in a saucepan Mix well. Bring to a boil and com one minute. Coat exposed portions of ham with remaining brown sugar. Place pineapple rings on ham securing with toothpicks. Leave tip exposed for cherry halves. Pour hot cranberry sauce over the ham, bake an additional 30 minutes or until thermometer reaches 160 degrees. Let rest before slicing.
|
